
ionicで自作componentを作る
componentへ値を渡す
componentへのinputを行っていきます。
まずはcomponentの内容を以下のように書き換えます。
sample-component.ts
import { Component,Input } from '@angular/core';

@Component({
  selector: 'sample-component',
  templateUrl: 'sample-component.html'
})
export class SampleComponent {
  @Input() text: string;

  constructor() {
  }

}
クラス変数に@Input()がついている変数を準備します。
また@angular/coreからInputをimportします。
次に、使用する側からこのtextに値を渡します。
home.html
<ion-header>
  <ion-navbar>
    <ion-title>Home</ion-title>
  </ion-navbar>
</ion-header>

<ion-content padding>

  <sample-component text="homeより"></sample-component>

</ion-content>
これで値をコンポーネントに渡すことができます。
実際に実行結果を見てみます。
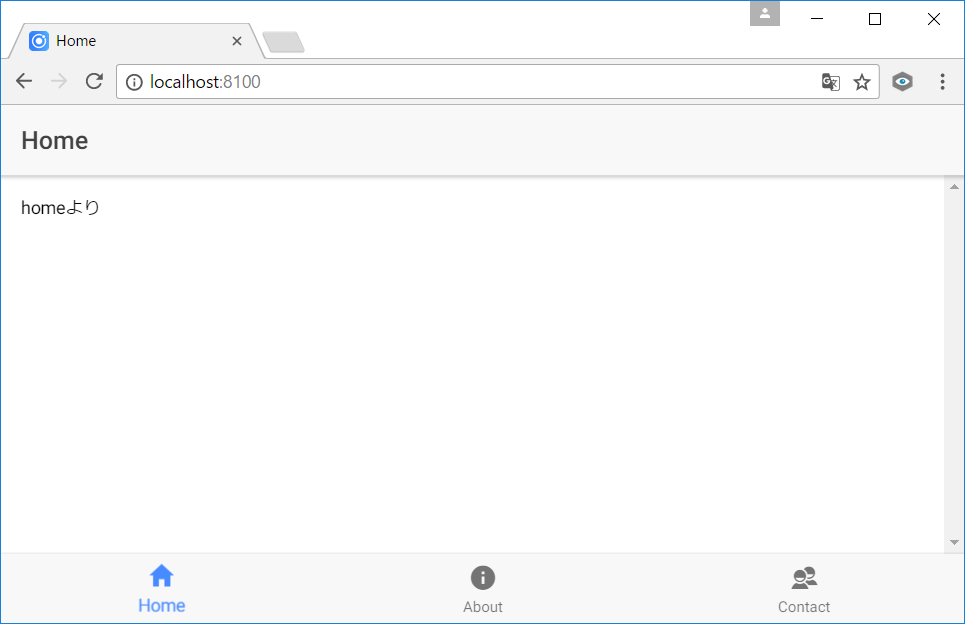
しっかりと値がわたっているのが確認できました。
コンポーネントのイベントを受け取る
コンポーネントからのoutputを受け取っていきます。
まずはcomponentを以下のように書き換えます。
sample-component.ts
import { Component,Input,Output,EventEmitter } from '@angular/core';

@Component({
  selector: 'sample-component',
  templateUrl: 'sample-component.html'
})
export class SampleComponent {
  @Input() text: string;
  @Output() returnEvent = new EventEmitter<String>();

  constructor() {
  }

  clickEvent() {
    this.returnEvent.emit("sample-componentより");
  }

}
クラス変数に@Output()がついている変数を準備します。
そこにEventEmitterをインスタンス化して入れておきます。
また@angular/coreからOutputとEventEmitterをimportします。
コンポーネント内のボタンを押されたときの処理としてclickEventメソッドを準備しました。
その中でEventEmitterをemitします。
sample-component.html
<div>
  {{text}}
</div>
<button ion-button (click)="clickEvent()">ボタン</button>
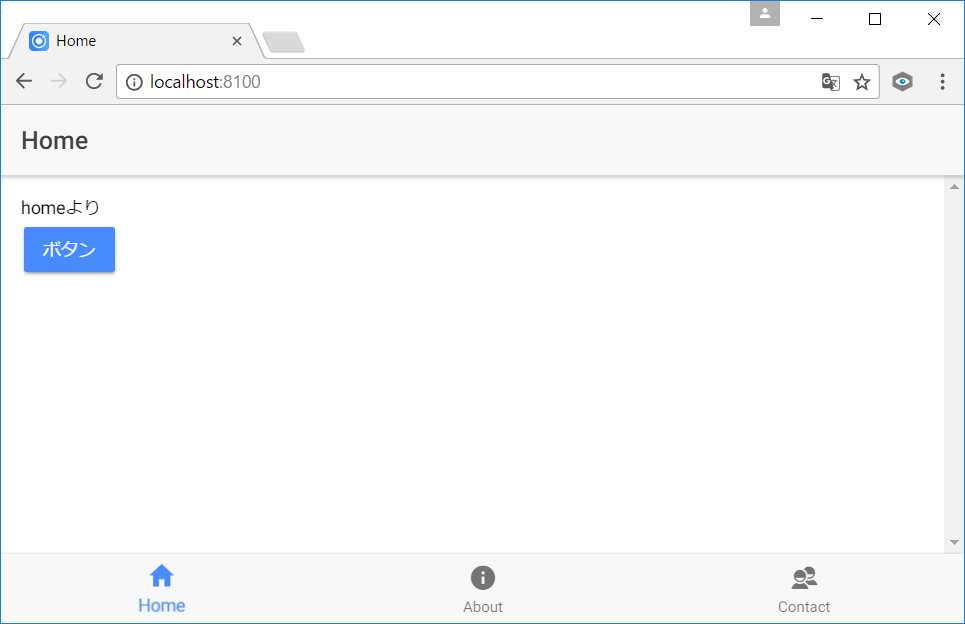
htmlにはボタンとクリックした時の処理を記述しておきます。
次にコンポーネントを使用する側で値を受け取る処理を記述します。
home.html
<ion-header>
  <ion-navbar>
    <ion-title>Home</ion-title>
  </ion-navbar>
</ion-header>

<ion-content padding>

  <sample-component text="homeより" (returnEvent)="showMessage($event)"></sample-component>

</ion-content>
sample-component.tsに@Outputで記述したreturnEventがイベント発火したときの処理を記述しました。
値は$eventに入ってきます。
home.ts
import { Component } from '@angular/core';
import { NavController } from 'ionic-angular';

@Component({
  selector: 'page-home',
  templateUrl: 'home.html'
})
export class HomePage {

  constructor(public navCtrl: NavController) {

  }

  showMessage(event) {
    alert(event);
  }

}
これで値を受け取ることができるので、その値をalertで出力しています。
実際に実行結果を見てみます。
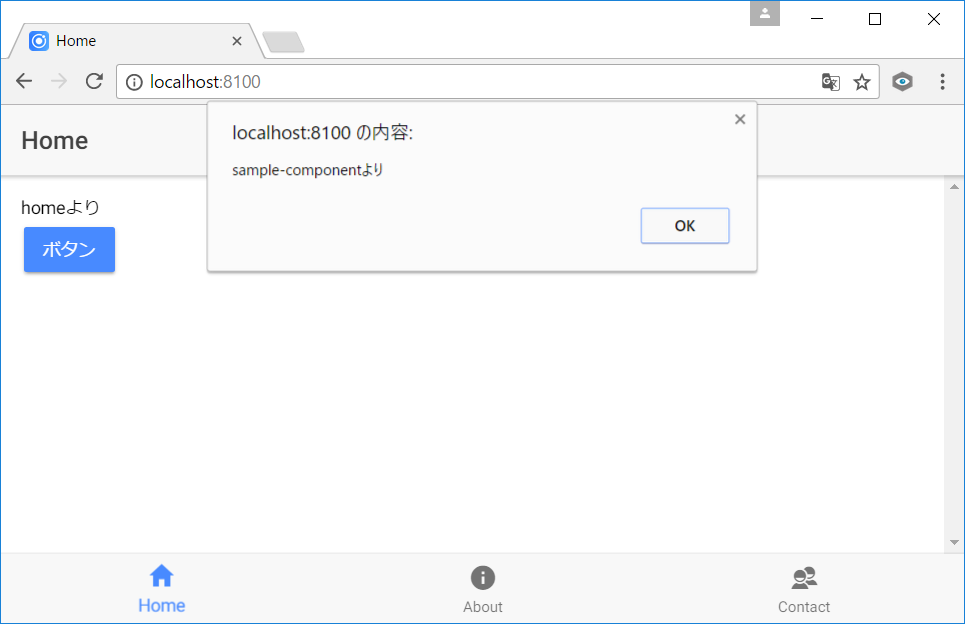
ボタンを押すとalertが受け取ったメッセージであがるのが確認できました。


