
ionicで自作componentを作る
componentを作成
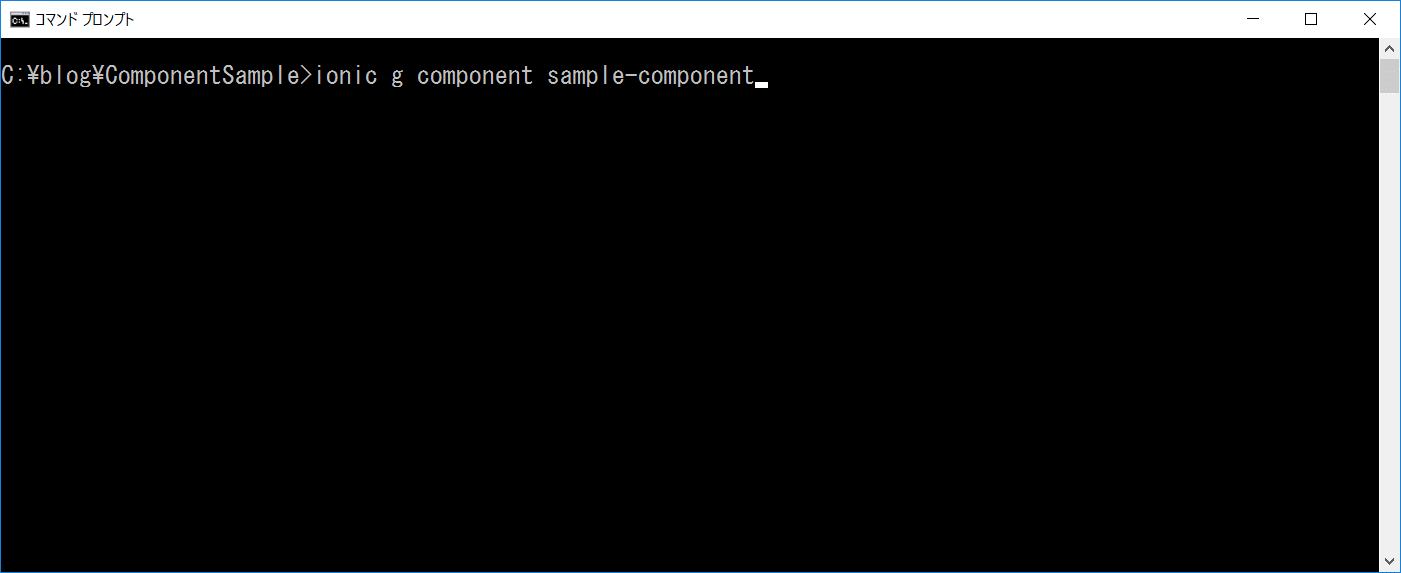
ionicのルートディレクトリで以下のコマンドを実行する。
ionic g component コンポーネント名
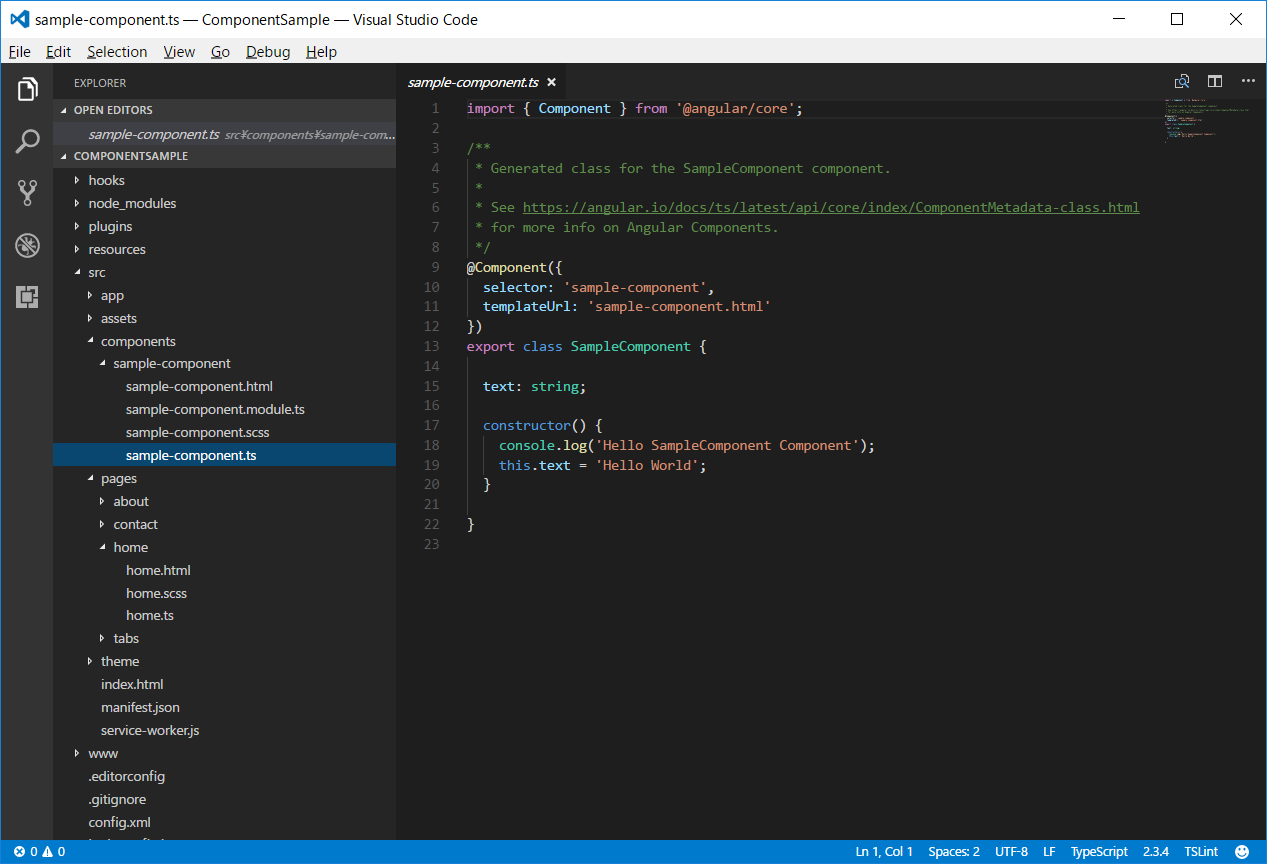
componentsフォルダの中にコンポーネントが作成されている。
componentの使用
app.module.tsで作成したコンポーネントのmodule.tsをimportする。
app.module.ts
import { SampleComponentModule } from '../components/sample-component/sample-component.module';

…

@NgModule({
  declarations: [
    …
  ],
  imports: [
    BrowserModule,
    SampleComponentModule,
    IonicModule.forRoot(MyApp)
  ],
  bootstrap: [IonicApp],
  entryComponents: [
    …
  ],
  providers: [
    …
  ]
})
使用したい箇所にselectorと一緒のタグを記述する。
sample-component.ts
import { Component } from '@angular/core';

@Component({
  selector: 'sample-component', // これを使用した箇所に記述する
  templateUrl: 'sample-component.html'
})
export class SampleComponent {

  text: string;

  constructor() {
    console.log('Hello SampleComponent Component');
    this.text = 'Hello World';
  }

}
home.html
<ion-header>
  <ion-navbar>
    <ion-title>Home</ion-title>
  </ion-navbar>
</ion-header>

<ion-content padding>

  <sample-component></sample-component>

  <h2>Welcome to Ionic!</h2>
  <p>
    This starter project comes with simple tabs-based layout for apps
    that are going to primarily use a Tabbed UI.
  </p>
  <p>
    Take a look at the <code>src/pages/</code> directory to add or change tabs,
    update any existing page or create new pages.
  </p>
</ion-content>
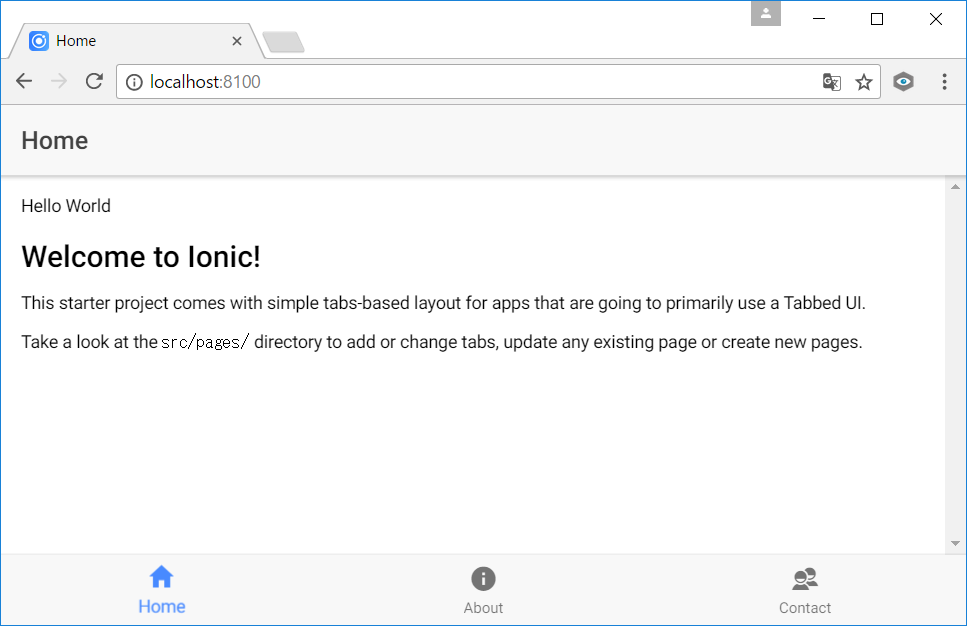
実行結果
ionic serveで実行して実行結果を見てみるとhome.htmlにsample-componentがしっかりと表示されています。
次回について
次回は、今回作成したコンポーネントに値を渡す、そしてコンポーネントでのイベント返していきます。


