nagiosでフリーな監視をしてみよう!~nagiosの設定(11)~
nagiosでフリーな監視をしてみよう!~nagiosの設定(11)~
windowsの監視で使用されるツール
今回は、windowsの監視について紹介していこうと思います。
windowsを監視するにあたって、Linuxと同様に、監視対象サーバへエージェントのインストールが必要となります。
今回使用するのは、「nrpe_nt」と「nrpe_nt_plugins」ですが、
他も次のようなツールがあります。
・NSClient++
・NCPA(Nagios Cross Platform Agent)
・nrpe_nt
また、事前にnagiosと通信できるようファイアフォールに5666ポートを開けてあげる必要があります。
nrpe_ntのインストール
では、実際にnrpe_ntとプラグインをインストールしていきます。
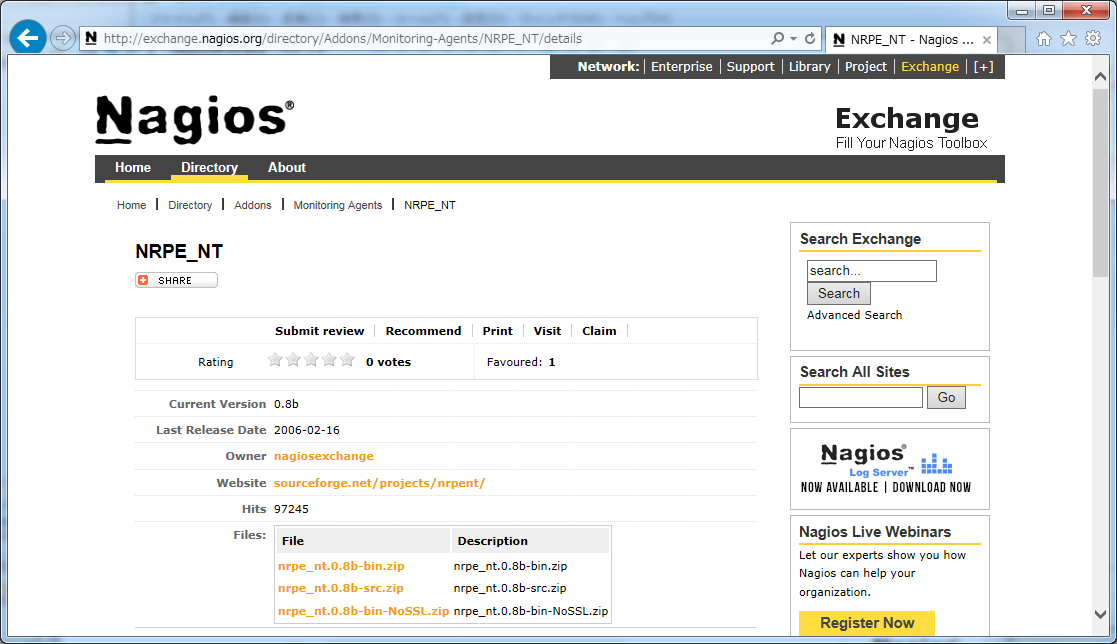
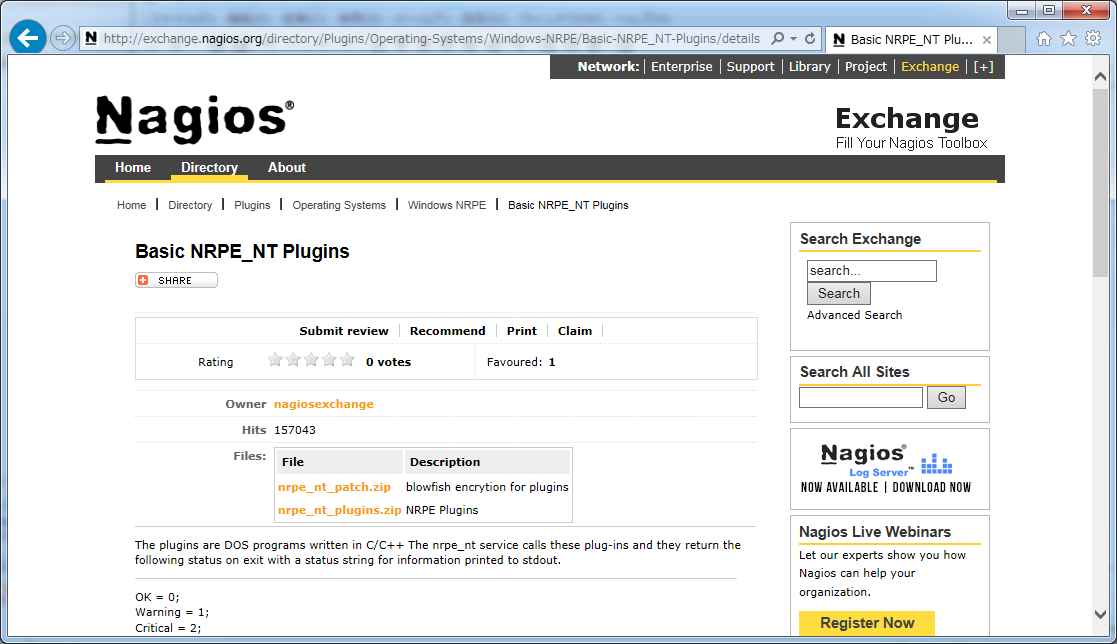
(1)nrpe_ntとnrpe_nt_pluginをそれぞれ、以下のURLからダウンロードします。
・nrpe_nt
サイトURL:http://exchange.nagios.org/directory/Addons/Monitoring-Agents/NRPE_NT/details

・nrpe_nt_plugin
サイトURL:http://exchange.nagios.org/directory/Plugins/Operating-Systems/Windows-NRPE/Basic-NRPE_NT-Plugins/details

(2)「nrpe_nt.0.8b-bin.zip」を監視対象Windowsサーバの「C:」の直下へ解凍し、「nrpe_nt」にリネームします。
</span><span> (3)「nrpe_nt_plugins.zip」を「C:」ドライブ直下に解凍した「nrpe_nt」の直下へ解凍します。 <img style="width: 598px; height: 368px;" src="https://techpjin.sakura.ne.jp/techpjin_new/wp-content/uploads/2015/03/nagios19-03.png" alt="" /> </span><span> (4)コマンドプロンプトで確認を行います。 </span><span> [cmd] C:WindowsSystem32>cd c:nrpe_ntbin c:nrpe_ntbin>NRPE_NT -i NRPE_NT Service sucessfully installed! [/cmd] </span><span> これで、インストール自体は終了です。 </span> <h4><span>クライアントおよびサーバの設定ファイルの編集</span></h4> <span> 次に、各種の設定ファイルを編集していきます。 </span><span> (1)「nrpe_nt」直下のnrpe.cfgファイルを編集します。 </span><span> ・「c:nrpe_ntbinnrpe.cfg」ファイル変更前の内容 </span><span> [bash firstline="27" highlight="30,39"] # NOTE: The daemon only does rudimentary checking of the client's IP # address. allowed_hosts=192.168.0.1 # COMMAND ARGUMENT PROCESSING # This option determines whether or not the NRPE_NT service will allow clients # to specify arguments to commands that are executed # *** ENABLING THIS OPTION IS A SECURITY RISK! *** # # Values: 0=do not allow arguments, 1=allow command arguments dont_blame_nrpe=0
# The following examples use no command arguments...

command[nt_check_disk_c]=C:gx-nrpe_ntnagiosbindiskspace_nrpe_nt.exe c: 70 90
command[nt_check_disk_d]=C:gx-nrpe_ntnagiosbindiskspace_nrpe_nt.exe d: 70 90
command[nt_check_disk_e]=C:gx-nrpe_ntnagiosbindiskspace_nrpe_nt.exe e: 70 90
command[nt_cpuload]=C:gx-nrpe_ntnagiosbincpuload_nrpe_nt.exe 50 80
command[nt_memload]=C:gx-nrpe_ntnagiosbinmemload_nrpe_nt.exe 70 90
command[nt_service]=C:gx-nrpe_ntnagiosbinservice_nrpe_nt.exe "Event Log,DNS Client"
command[nt_eventlog]=C:gx-nrpe_ntnagiosbineventlog_nrpe_nt.exe -m 7200 -s "Service Control Manager"
・「c:nrpe_ntbinnrpe.cfg」ファイル変更後の内容
# NOTE: The daemon only does rudimentary checking of the client's IP
#       address.
# nagiosサーバのIPアドレスを指定

#allowed_hosts=192.168.0.1
allowed_hosts=192.168.100.74

# COMMAND ARGUMENT PROCESSING
# This option determines whether or not the NRPE_NT service will allow clients
# to specify arguments to commands that are executed
# *** ENABLING THIS OPTION IS A SECURITY RISK! ***
#
# Values: 0=do not allow arguments, 1=allow command arguments
# クライアントから引数を与える
#dont_blame_nrpe=0
dont_blame_nrpe=1
# The following examples use no command arguments...

command[nt_check_disk_c]=C:nrpe_ntbindiskspace_nrpe_nt.exe c: 70 90
command[nt_check_disk_d]=C:nrpe_ntbindiskspace_nrpe_nt.exe d: 70 90
command[nt_check_disk_e]=C:nrpe_ntbindiskspace_nrpe_nt.exe e: 70 90
command[nt_cpuload]=C:nrpe_ntbincpuload_nrpe_nt.exe 50 80
command[nt_memload]=C:nrpe_ntbinmemload_nrpe_nt.exe 70 90
command[nt_service]=C:nrpe_ntbinservice_nrpe_nt.exe "Event Log,DNS Client"
command[nt_eventlog]=C:nrpe_ntbineventlog_nrpe_nt.exe -m 7200 -s "Service Control Manager"
(2)サーバ側のcommand.cfgファイルを編集します。
# vi /usr/local/nagios/etc/objects/commands.cfg
・「/usr/local/nagios/etc/objects/commands.cfg」ファイル変更後の内容
 #windows
 define command{
     command_name nt_check_disk
     command_line $USER1$/check_nrpe -H $HOSTADDRESS$ -c nt_check_disk_c
 }
 define command{
     command_name nt_cpuload
     command_line $USER1$/check_nrpe -H $HOSTADDRESS$ -c nt_cpuload
 }
 define command{
     command_name nt_memload
     command_line $USER1$/check_nrpe -H $HOSTADDRESS$ -c nt_memload
 }
 define command{
     command_name nt_service
     command_line $USER1$/check_nrpe -H $HOSTADDRESS$ -c nt_service
 }
 define command{
     command_name nt_eventlog
     command_line $USER1$/check_nrpe -H $HOSTADDRESS$ -c nt_eventlog
 }
(3)新規にwindows.cfgファイルを作成し、追記します。
※IPアドレスは、適時あわせてください。
# vi /usr/local/nagios/etc/servers/services.cfg
・「/usr/local/nagios/etc/servers/windows.cfg」ファイルの内容
define host{
        use         windows-server
        host_name   win
        alias       win
        address     192.168.100.105
        }

define service{
        use                             generic-service
        host_name                       win
        service_description             PING
        check_command                   check_ping!100.0,20%!500.0,60%
        }
define service{
        use                             generic-service
        host_name                       win
        service_description             Disk Size C:
        check_command                   nt_check_disk
        }
define service{
        use                             generic-service
        host_name                       win
        service_description             CPU
        check_command                   nt_cpuload
        }
define service{
        use                             generic-service
        host_name                       win
        service_description             memory
        check_command                   nt_memload
        }
define service{
        use                             generic-service
        host_name                       win
        service_description             service
        check_command                   nt_service
        }
define service{
        use                             generic-service
        host_name                       win
        service_description             eventlog
        check_command                   nt_eventlog
        }
(4)所有権と所有グループを変更します。
# chown nagios.nagios /usr/local/nagios/etc/servers/windows.cfg
(45nagios.cgfに所有権と所有グループを変更します。
# chown nagios.nagios /usr/local/nagios/etc/servers/windows.cfg


