nagiosでフリーな監視をしてみよう!~nagiosの構築(4)~
nagiosでフリーな監視をしてみよう!~nagiosの構築(4)~
nagiosのインストール
ようやく、nagiosのインストールに入っていきます。
(1)nagios専用のユーザ/グループを作成します。
# useradd -d /usr/local/nagios/ -M nagios
(2)「/usr/local/src」ディレクトリに移動し、wgetコマンドでソースコードをダウンロードします。
# cd /usr/local/src/
# wget http://sourceforge.net/projects/nagios/files/nagios-4.x/nagios-4.0.8/nagios-4.0.8.tar.gz
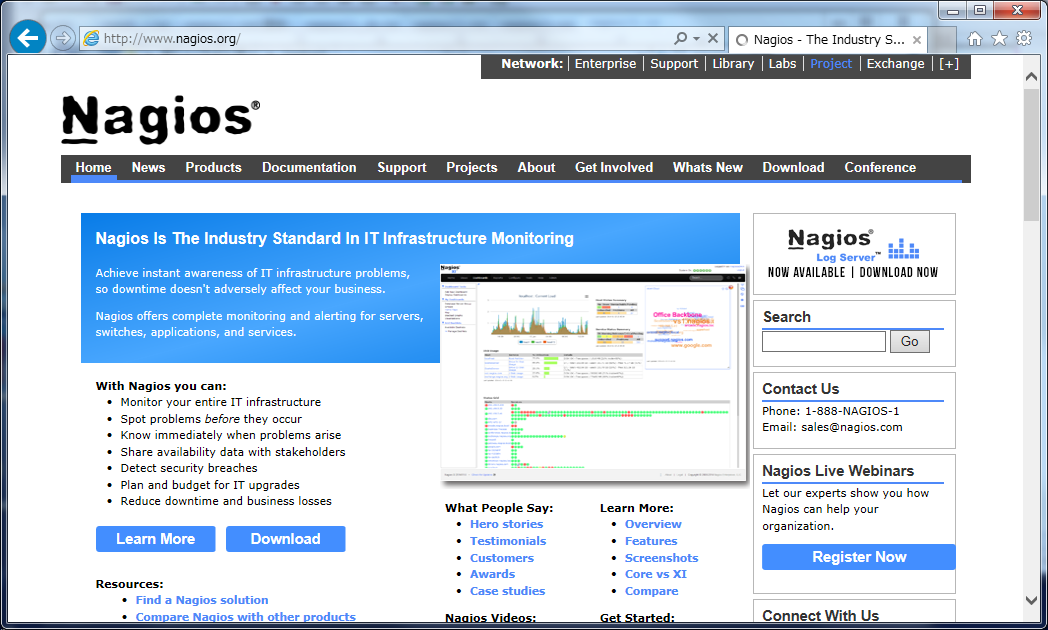
・Nagiosの本家サイト
URL:「http://www.nagios.org/」

※nagiosの最新版は下記からダウンロードしてきました。
URL:「http://sourceforge.net/projects/nagios/files/」
(3)ソースコードを解凍し、解凍したディレクトリに移動します。
# tar xfz nagios-4.0.8.tar.gz
# cd nagios-4.0.8
(4)nagiosの日本語パッチもダウンロードし、ソースファイルへ適用を行ないます。
# wget http://ftp.momo-i.org/pub/security/nagios/patches/nagios-jp-4.0.8.patch.gz
# gzip -dc nagios-jp-4.0.8.patch.gz | patch -p1
※日本語パッチは下記からダウンロードしてください。
URL:「http://ftp.momo-i.org/pub/security/nagios/patches/」
(5)configureを実行します。
# ./configure
--prefix=/usr/local/nagios
--with-nagios-user=nagios
--with-nagios-group=nagios
--with-httpd-conf=/usr/local/apache2/conf/extra
(7)make関連のコマンドを実行します。
# make all
# paco -D make install
# make install-init
# make install-commandmode
# make install-config
# make install-webconf
make関連のコマンドの簡単な説明を掲載しておきます。
| コマンド | 説明 |
|---|---|
| make install | 基本コンポーネントのインストール |
| make install-init | 自動起動ファイルのインストール |
| make install-commandmode | ディレクトリのパーミッション設定 |
| make install-config | サンプル設定ファイルのインストール |
| make install-webconf | web設定ファイルのインストール |


