無料で監視ツールを構築しよう~ZABBIXの構築~
ZABBIXの構築
今回は、統合監視ソフトウェアである「zabbix」について、説明していきます。
zabbixの特徴を大雑把にあげると、次のようになります。
・監視機能
・グラフィカル表示機能
・障害検知/通知機能
今回、動作環境としては、使用するのは、次のようになります。
OS
・CentOS : 6.5
アプリケーション
・Zabbix : 2.2.2
・MySQL : 5.5.35
・Apache : 2.2.26
・php : 5.3.28
・libpng : 1.6.10
・libjpeg : 9a
・net-snmp : 5.4.4
・cURL : 7.36.0
Linuxでアプリをインストールしていく際に、ソースコードをコンパイルしてインストールする方法とyumコマンドでインストールする方法がありますが、今回は、前者の方法で行っていきます。
Apache(Webサーバ)のインストール
Apache(Webサーバ)からインストールしていきます。
(1)「/usr/local/src」ディレクトリに移動し、wgetコマンドでソースコードをダウンロードします。
cd /usr/local/src
wget http://ftp.riken.jp/net/apache//httpd/httpd-2.2.26.tar.gz
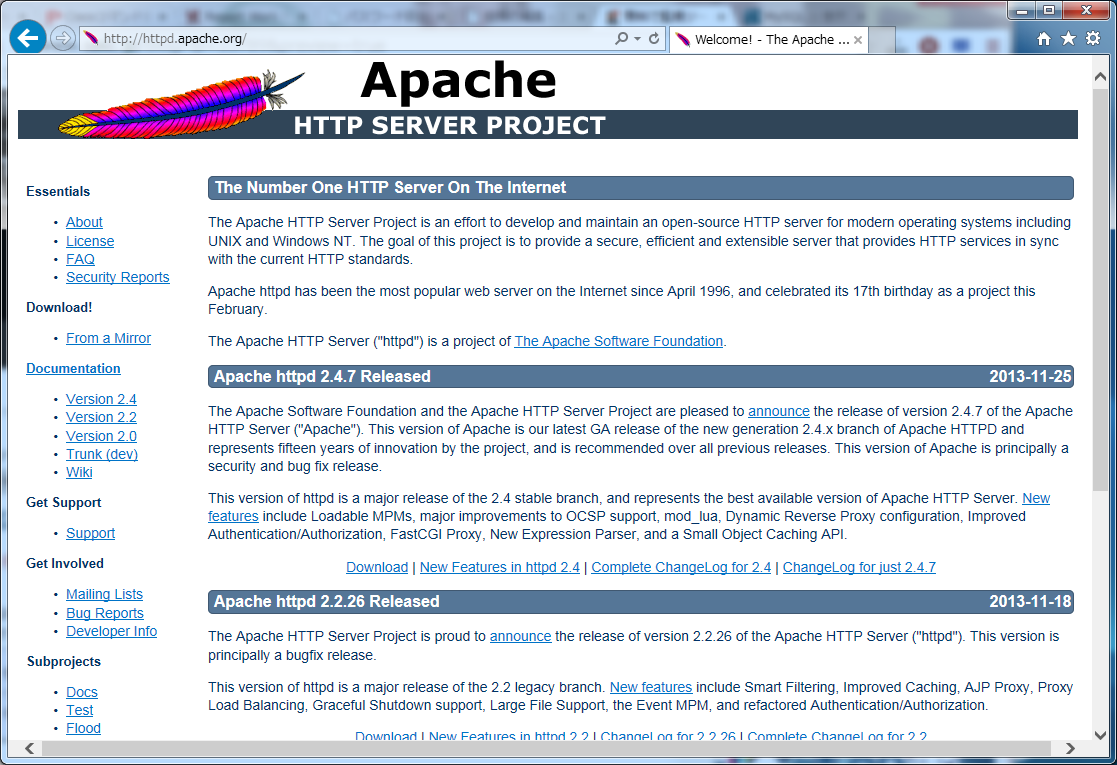
・apacheの本家サイト
URL:「http://httpd.apache.org/」
(2)ソースコードを解凍し、解凍したディレクトリに移動します。
tar xvfz httpd-2.2.26.tar.gz/
cd httpd-2.2.26
(3)configure & make & make installを行います。
./configure --enable-module=all --enable-mods-shared=all
make && make install
(4)自動起動の設定を行います。
・起動スクリプトをコピーします。
cp build/rpm/httpd.init /etc/init.d/httpd
・起動スクリプトを編集します。
vi /etc/init.d/httpd
・編集前のhttpdファイル
# Set HTTPD=/usr/sbin/httpd.worker in /etc/sysconfig/httpd to use a server
# with the thread-based "worker" MPM; BE WARNED that some modules may not
# work correctly with a thread-based MPM; notably PHP will refuse to start.

httpd=${HTTPD-/usr/sbin/httpd}
pidfile=${PIDFILE-/var/log/httpd/${prog}.pid}
lockfile=${LOCKFILE-/var/lock/subsys/${prog}}
RETVAL=0

# check for 1.3 configuration
check13 () {
        CONFFILE=/etc/httpd/conf/httpd.conf
        GONE="(ServerType|BindAddress|Port|AddModule|ClearModuleList|"
        GONE="${GONE}AgentLog|RefererLog|RefererIgnore|FancyIndexing|"
        GONE="${GONE}AccessConfig|ResourceConfig)"
        if grep -Eiq "^[[:space:]]*($GONE)" $CONFFILE; then
・編集後のhttpdファイル
# Set HTTPD=/usr/sbin/httpd.worker in /etc/sysconfig/httpd to use a server
# with the thread-based "worker" MPM; BE WARNED that some modules may not
# work correctly with a thread-based MPM; notably PHP will refuse to start.
httpd_home=/usr/local/apache2

#httpd=${HTTPD-/usr/sbin/httpd}
httpd=${HTTPD-${httpd_home}/bin/httpd}
#pidfile=${PIDFILE-/var/log/httpd/${prog}.pid}
pidfile=${PIDFILE-${httpd_home}/logs/${prog}.pid}
lockfile=${LOCKFILE-/var/lock/subsys/${prog}}
RETVAL=0

# check for 1.3 configuration
check13 () {
        #CONFFILE=/etc/httpd/conf/httpd.conf
        CONFFILE=${httpd_home}/conf/httpd.conf
        GONE="(ServerType|BindAddress|Port|AddModule|ClearModuleList|"
        GONE="${GONE}AgentLog|RefererLog|RefererIgnore|FancyIndexing|"
        GONE="${GONE}AccessConfig|ResourceConfig)"
        if grep -Eiq "^[[:space:]]*($GONE)" $CONFFILE; then
・起動スクリプトに実行権限を付与し、ディレクトリの所有者・所有グループを変更します。
chmod +x /etc/init.d/httpd
chown apache.apache /usr/local/apache2
・自動起動の設定をします。
chkconfig httpd on
(5)httpd.confファイルを編集します。
vi /usr/local/apache2/conf/httpd.conf
・編集前のhttpd.confファイル
#
User daemon
Group daemon

</IfModule>
</IfModule>
・編集後のhttpd.confファイル
#
#User daemon
#Group daemon
User apache
Group apache

</IfModule>
</IfModule>
(5)httpdを起動します。
service httpd start


