translate属性によるViewAnimationを用いた簡単なAndroidサンプルアプリ
※はじめに
この記事はAndroidアプリの開発が、初心者であるという方のための記事です。
そのため、なるべく複雑な説明は避け、コピー&ペイストですぐに動くものをご紹介します。
JavaやAndroidを理解されている方で細かい説明が必要な方は、当ブログ内の連載記事である「Android Tips」をご覧ください。
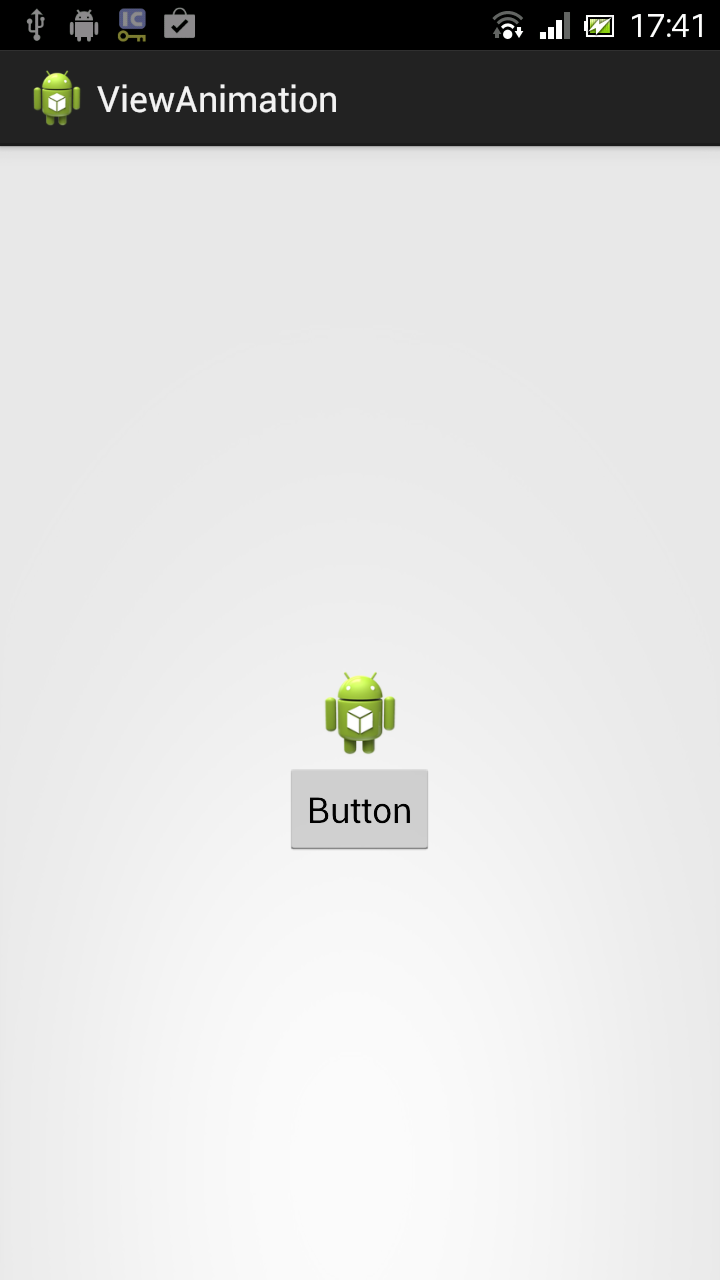
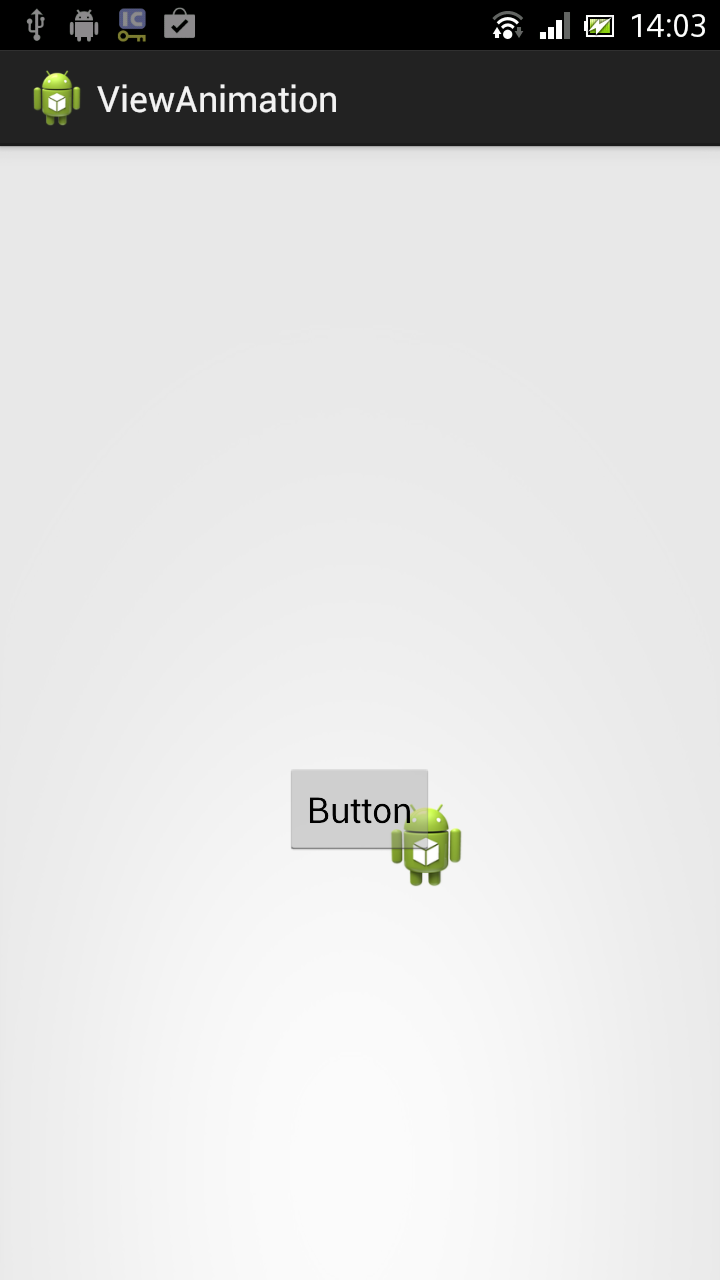
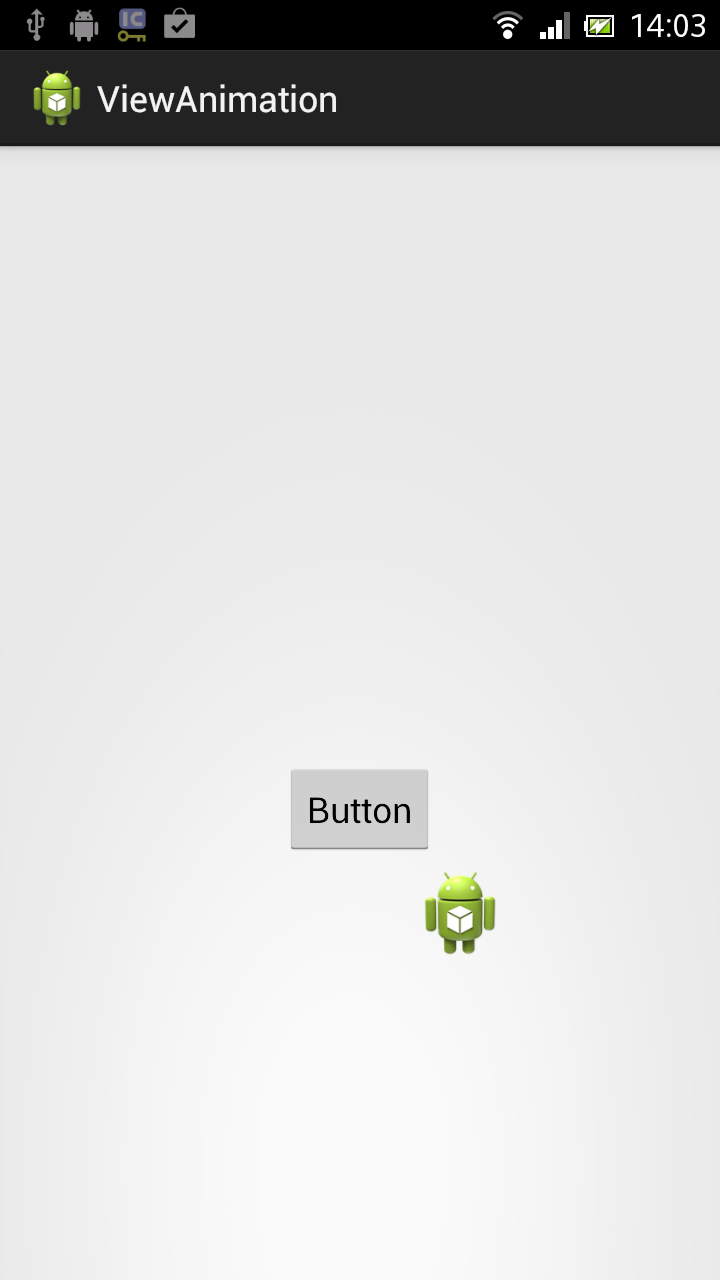
さて、今回はドロイド君が移動します。
アプリ実行図
サンプルコード
- activity_main.xml(画面レイアウトファイル)
今回は画像を設置するImageVIewと、動作のキッカケとなるボタンのみ定義しています。
14行目でImageViewに画像をセットしておりますが、今回はデフォルトの画像を指定しています。
<RelativeLayout xmlns:android="http://schemas.android.com/apk/res/android"
    xmlns:tools="http://schemas.android.com/tools"
    android:layout_width="match_parent"
    android:layout_height="match_parent"
    android:padding="15dp"
    tools:context=".MainActivity" >

    <ImageView
        android:id="@+id/imageView1"
        android:layout_width="wrap_content"
        android:layout_height="wrap_content"
        android:layout_centerHorizontal="true"
        android:layout_centerVertical="true"
        android:src="@drawable/ic_launcher" />

    <Button
        android:id="@+id/button1"
        android:layout_width="wrap_content"
        android:layout_height="wrap_content"
        android:layout_below="@+id/imageView1"
        android:layout_centerHorizontal="true"
        android:text="Button" />

</RelativeLayout>
23行目でdrawableフォルダ内の動作命令を読み込んでいます。
package com.example.viewanimation;

import android.app.Activity;
import android.os.Bundle;
import android.view.View;
import android.view.View.OnClickListener;
import android.view.animation.Animation;
import android.view.animation.AnimationUtils;
import android.widget.Button;
import android.widget.ImageView;

public class MainActivity extends Activity implements OnClickListener {

	ImageView iView;
	Animation anime;

	@Override
	protected void onCreate(Bundle savedInstanceState) {
		super.onCreate(savedInstanceState);
		setContentView(R.layout.activity_main);

		iView = (ImageView) findViewById(R.id.imageView1);
		anime = AnimationUtils.loadAnimation(this, R.anim.animation);

		Button button = (Button) findViewById(R.id.button1);
		button.setOnClickListener(this);
	}

	@Override
	public void onClick(View v) {
		// startAnimation()でアニメーションの開始
		iView.startAnimation(anime);
	}
}
<?xml version="1.0" encoding="utf-8"?>
<!-- アニメーション開始時のX座標 -->
<!-- アニメーション開始時のY座標 -->
<!-- アニメーション終了時のX座標 -->
<!-- アニメーション終了時のY座標 -->
<translate
    xmlns:android="http://schemas.android.com/apk/res/android"
    android:duration="5000"
    android:fillAfter="true"
    android:repeatCount="2"
    android:repeatMode="reverse"
    android:startOffset="1000"
    android:zAdjustment="top"
    android:fromXDelta="0"
    android:fromYDelta="0"
    android:toXDelta="100"
    android:toYDelta="200" >

</translate>
以上でOKです。


