OptionMenuを表示させるAndroidサンプルアプリです!
※はじめに
この記事はAndroidアプリの開発が、初心者であるという方のための記事です。
そのため、なるべく複雑な説明は避け、コピー&ペイストですぐに動くものをご紹介します。
JavaやAndroidを理解されている方で細かい説明が必要な方は、当ブログ内の連載記事である「Android Tips」をご覧ください。
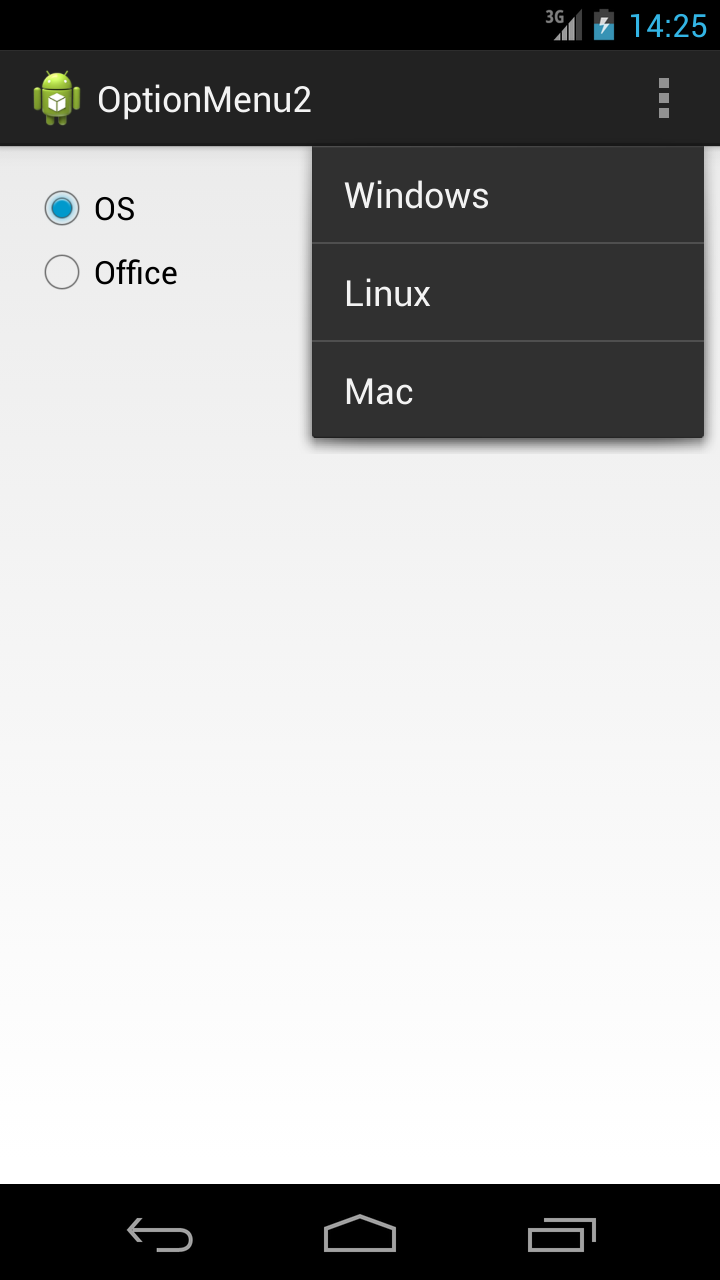
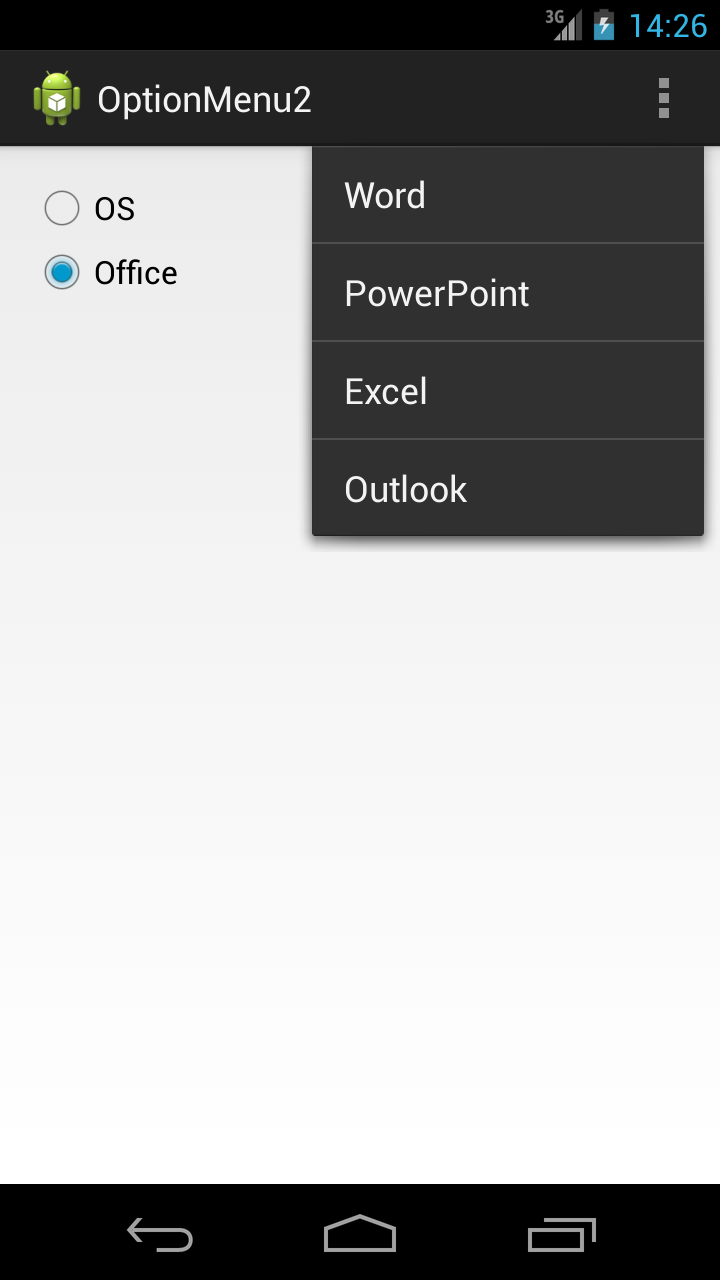
このアプリはCheckBoxの状態に応じて、onPrepareOptionsMenu()を用いて、表示されるオプショントメニューを切り替えるというものです。
アプリ完成図
MainActivity.java
package com.example.optionmenu2;
import android.app.Activity;
import android.os.Bundle;
import android.view.Menu;
import android.view.MenuItem;
import android.widget.RadioButton;
import android.widget.RadioGroup;
import android.widget.RadioGroup.OnCheckedChangeListener;
import android.widget.Toast;
public class MainActivity extends Activity {
RadioGroup radioGroup;
RadioButton radioButton;
RadioButton checkRadioButton;
int checkedId;
private String[] os = { "Windows", "Linux", "Mac" };
private String[] office = { "Word", "PowerPoint", "Excel", "Outlook" };
@Override
protected void onCreate(Bundle savedInstanceState) {
super.onCreate(savedInstanceState);
setContentView(R.layout.activity_main);
radioGroup = (RadioGroup) findViewById(R.id.radioGroup);
radioGroup.setOnCheckedChangeListener(new OnCheckedChangeListener() {
@Override
public void onCheckedChanged(RadioGroup group, int checkedId) {
//選択されたRadioButtonのIDを取得
radioButton = (RadioButton) findViewById(checkedId);
Toast.makeText(MainActivity.this,
radioButton.getText() + "を選択しました。", Toast.LENGTH_LONG)
.show();
}
});
}
@Override
public boolean onCreateOptionsMenu(Menu menu) {
checkedId = radioGroup.getCheckedRadioButtonId();
//メニュー項目を作成
//add()の第1引数でRadioButtonをGroup分け
//1つ目のRadioButtonが選択されているときに表示させるオプションメニュー
menu.add(0, 0, 0, os[0]);
menu.add(0, 10, 1, os[1]);
menu.add(0, 20, 2, os[2]);
//2つ目のRadioButtonが選択されているときに表示させるオプションメニュー
menu.add(1, 0, 0, office[0]);
menu.add(1, 10, 1, office[1]);
menu.add(1, 20, 2, office[2]);
menu.add(1, 30, 3, office[3]);
return true;
}
@Override
public boolean onPrepareOptionsMenu(Menu menu) {
checkedId = radioGroup.getCheckedRadioButtonId();
//setGroupVisible()の第1引数には、上で作成した項目のグループIDを指定
//setGroupVisible()の第2引数には、そのグループの有効無効を指定
if (checkedId == R.id.radioButton1) {
menu.setGroupVisible(0, true);
menu.setGroupVisible(1, false);
} else {
menu.setGroupVisible(0, false);
menu.setGroupVisible(1, true);
}
return true;
}
@Override
public boolean onOptionsItemSelected(MenuItem item) {
checkedId = radioGroup.getCheckedRadioButtonId();
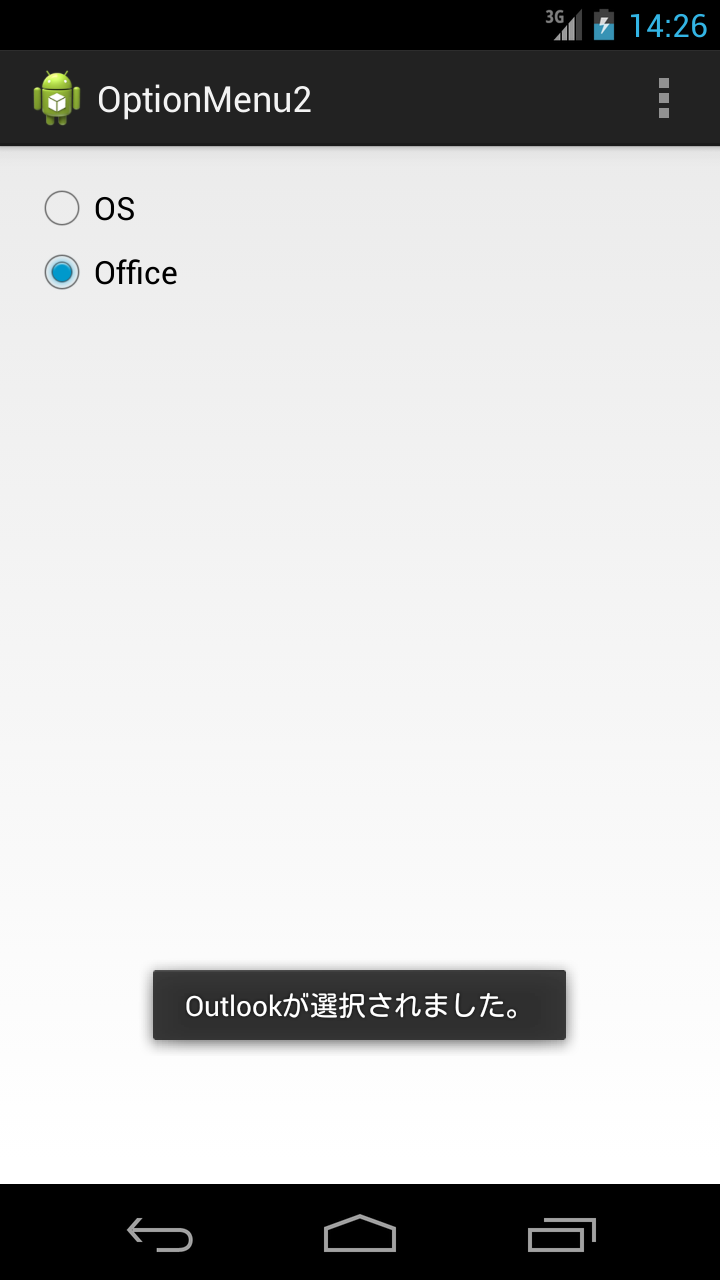
//getTitle()を用いて、選択された項目(item)のタイトル(文字列)を取得
if (checkedId == R.id.radioButton1) {
if (item.getItemId() == 0) {
Toast.makeText(this, item.getTitle() + "が選択されました。",
Toast.LENGTH_SHORT).show();
} else if (item.getItemId() == 10) {
Toast.makeText(this, item.getTitle() + "が選択されました。",
Toast.LENGTH_SHORT).show();
} else if (item.getItemId() == 20) {
Toast.makeText(this, item.getTitle() + "が選択されました。",
Toast.LENGTH_SHORT).show();
}
} else if (checkedId == R.id.radioButton2) {
if (item.getItemId() == 0) {
Toast.makeText(this, item.getTitle() + "が選択されました。",
Toast.LENGTH_SHORT).show();
} else if (item.getItemId() == 10) {
Toast.makeText(this, item.getTitle() + "が選択されました。",
Toast.LENGTH_SHORT).show();
} else if (item.getItemId() == 20) {
Toast.makeText(this, item.getTitle() + "が選択されました。",
Toast.LENGTH_SHORT).show();
} else if (item.getItemId() == 30) {
Toast.makeText(this, item.getTitle() + "が選択されました。",
Toast.LENGTH_SHORT).show();
}
}
return true;
}
}
activity_main.xml
今回の画面の定義(activity_main.xml)はデフォルトのtextviewにidのみ追加しています。
<RelativeLayout xmlns:android="http://schemas.android.com/apk/res/android"
    xmlns:tools="http://schemas.android.com/tools"
    android:layout_width="match_parent"
    android:layout_height="match_parent"
    android:padding="15dp"
    tools:context=".MainActivity" >

    <RadioGroup
        android:id="@+id/radioGroup"
        android:layout_width="wrap_content"
        android:layout_height="wrap_content" >

        <RadioButton
            android:id="@+id/radioButton1"
            android:layout_width="wrap_content"
            android:layout_height="wrap_content"
            android:layout_alignParentLeft="true"
            android:layout_alignParentTop="true"
            android:checked="true"
            android:text="OS" />

        <RadioButton
            android:id="@+id/radioButton2"
            android:layout_width="wrap_content"
            android:layout_height="wrap_content"
            android:layout_alignLeft="@+id/radioButton1"
            android:layout_below="@+id/radioButton1"
            android:text="Office" />
    </RadioGroup>

</RelativeLayout>
これでOKです。


