nagiosでフリーな監視をしてみよう!~nagiosの構築(2)~
nagiosでフリーな監視をしてみよう!~nagiosの構築(2)~
PHPをインストールする前の前準備/1.Net-SNMPのインストール
SNMPを利用することで、ネットワーク機器など障害情報を通知してその通知(SNMPトラップ)を受けてNagios上で処理させることが出来ます。
後で余裕があれば、ネットワーク機器の監視の設定などを紹介してようかと思っているので、あらかじめ、インストールしておきます。
(1)必要パッケージのインストールを行います。
# yum -y install perl-ExtUtils-CBuilder perl-ExtUtils-MakeMaker
(2)「/usr/local/src」ディレクトリに移動し、wgetコマンドでソースコードをダウンロードします。
# cd /usr/local/src/
# wget http://sourceforge.net/projects/net-snmp/files/net-snmp/5.7.3-pre-releases/net-snmp-5.7.3.rc1.tar.gz
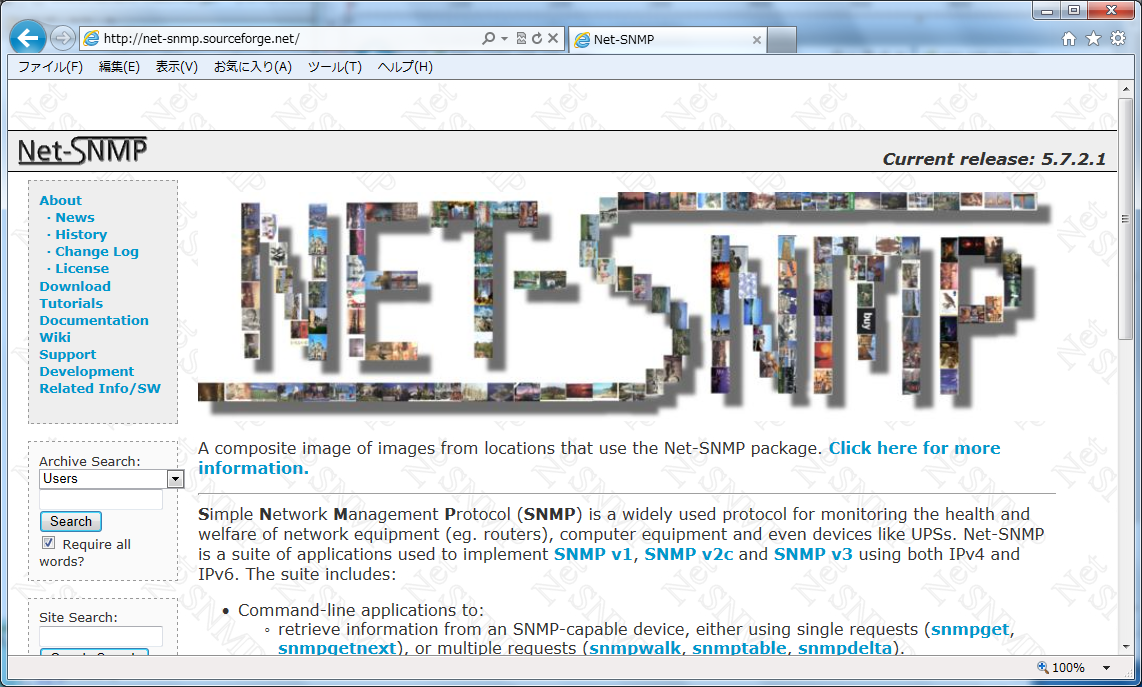
・net-snmpの公式サイト
URL:「http://net-snmp.sourceforge.net/」

(3)ソースコードを解凍し、解凍したディレクトリに移動します。
# tar xfz net-snmp-5.7.3.rc1.tar.gz
# cd net-snmp-5.7.3.rc1
(4)configureを実行します。「configure」スクリプト実行後に、いくつか入力する箇所がありますが、基本的には、すべて「空」のまま、ENTERキーを押下してください。
# ./configure
checking what to build and install...  agent apps man local mibs
using default persistent mask 077
using default temporary file pattern /tmp/snmpdXXXXXX
using default AgentX socket /var/agentx/master
using default "enterprise.net-snmp"
using default enterprise sysOID "NET-SNMP-MIB::netSnmpAgentOIDs..."
using default notifications "NET-SNMP-MIB::netSnmpNotifications"
using OS default send buffer size for server sockets
using OS default recv buffer size for server sockets
using OS default send buffer size for client sockets
using OS default recv buffer size for client sockets
checking whether to prompt for values... configure:

         ************** Configuration Section **************

        You are about to be prompted with a series of questions.  Answer
them carefully, as they determine how the SNMP agent and related
applications are to function.

        After the configure script finishes, you can browse the newly
created net-snmp-config.h file for further - less important - parameters to
modify.  Be careful if you re-run configure though, since net-snmp-config.h
will be overwritten.

-Press return to continue-
 ← ENTERキーを押下

yes
checking Default version of SNMP to use...


*** Default SNMP Version:

        Starting with Net-SNMP 5.0, you can choose the default version of
the SNMP protocol to use when no version is given explicitly on the
command line, or via an 'snmp.conf' file.  In the past this was set to
SNMPv1, but you can use this to switch to SNMPv3 if desired.  SNMPv3
will provide a more secure management environment (and thus you're
encouraged to switch to SNMPv3), but may break existing scripts that
rely on the old behaviour.  (Though such scripts will probably need to
be changed to use the '-c' community flag anyway, as the SNMPv1
command line usage has changed as well.).
   At this prompt you can select "1", "2" (for SNMPv2c), or "3" as
the default version for the command tools (snmpget, ...) to use.  This
can always be overridden at runtime using the -v flag to the tools, or
by using the "defVersion" token in your snmp.conf file.
   Providing the --with-default-snmp-version="x" parameter to ./configure
will avoid this prompt.

Default version of SNMP to use (3): ← ENTERキーを押下
setting Default version of SNMP to use to...  3
checking System Contact Information...


*** System Contact Information:

        Describes who should be contacted about the host the agent is
running on.  This information is available in the MIB-II tree.  This
can also be over-ridden using the "syscontact" syntax in the agent's
configuration files.
  Providing the --with-sys-contact="contact" parameter to ./configure
will avoid this prompt.

System Contact Information (@@no.where): ← ENTERキーを押下
setting System Contact Information to...  @@no.where
checking System Location...


*** System Location:

        Describes the location of the system.  This information is
available in the MIB-II tree.  this can also be over-ridden using the
"syslocation" syntax in the agent's configuration files.
  Providing the --with-sys-location="location" parameter to ./configure
will avoid this prompt.

System Location (Unknown): ← ENTERキーを押下
setting System Location to...  Unknown
checking Location to write logfile...


*** Logfile location:

        Enter the default location for the snmpd agent to dump
information & errors to.  If not defined (enter the keyword "none"
at the prompt below) the agent will use stdout and stderr instead.
(Note: This value can be over-ridden using command line options.)
  Providing the --with-logfile="path" parameter to ./configure
will avoid this prompt.

Location to write logfile (/var/log/snmpd.log):  ← ENTERキーを押下
setting Location to write logfile to...  /var/log/snmpd.log
checking Location to write persistent information...


*** snmpd persistent storage location:  ← ENTERキーを押下

        Enter a directory for the SNMP library to store persistent
data in the form of a configuration file.  This default location is
different than the old default location (which was for ucd-snmp).  If
you stay with the new path, I'll ask you in a second if you wish to
copy your files over to the new location (once only).  If you pick
some other path than the default, you'll have to copy them yourself.
There is nothing wrong with picking the old path (/var/ucd-snmp) if
you'd rather.
  Providing the --with-persistent-directory="path" parameter to
./configure will avoid this prompt.

Location to write persistent information (/var/net-snmp): ← ENTERキーを押下
・・(以下省略)・・
(5)makeを実行します。
# make
(6)pacoに登録しつつ、make installを実行します。
# paco -D make install


