AndroidのUIを作るうえで基本となる内容をまとめたいと思います。
レイアウト単位についてとレイアウトの基本的なポイントについて説明を行いました。
Androidには基本的なレイアウトが用意されており、そのうちよく使うものが以下のレイアウトです。
- LinearLayout
- RelativeLayout
- FrameLayout
他にAbsoluteLayoutもありますが、現在は非推奨となっているため取り上げません。
今回はこのうちLinearLayoutについて説明します。
LinearLayout
LinearLayoutはすべての子ビュー(そのViewGroup内に含まれるView要素)を縦方向あるいは横方向に一列に並べるレイアウトです。
orientation属性
LinearLayout内の子ビューの並び方はandroid:orientationによって指定することが出来ます。
縦一列に並べたい場合はverticalを、横一列に並べたい場合はhorizontalを与えます。
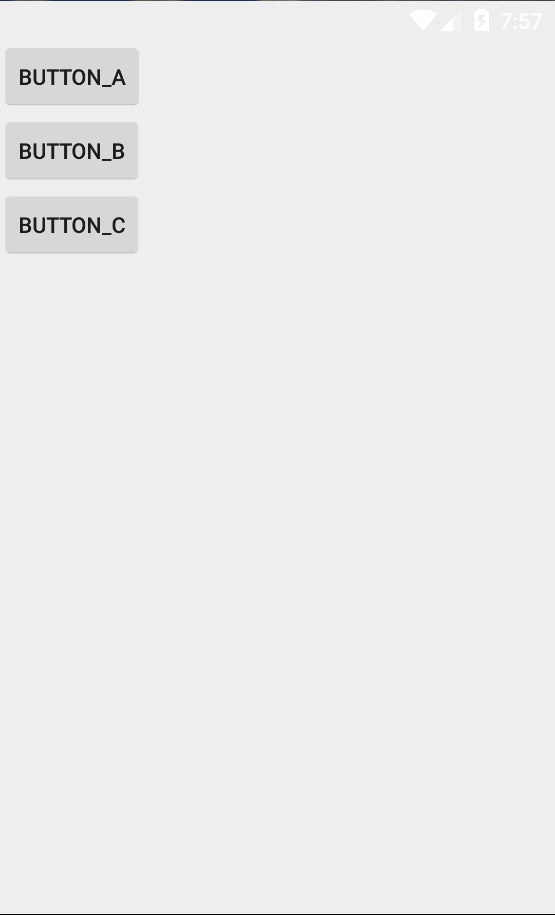
下は三つのButtonビューを縦一列に並べた例です。
<?xml version="1.0" encoding="utf-8"?>
<LinearLayout xmlns:android="http://schemas.android.com/apk/res/android" android:layout_width="match_parent"
    android:layout_height="match_parent"
    android:orientation="vertical">

    <Button
        android:layout_width="wrap_content"
        android:layout_height="wrap_content"
        android:text="button_A" />
    <Button
        android:layout_width="wrap_content"
        android:layout_height="wrap_content"
        android:text="button_B" />
    <Button
        android:layout_width="wrap_content"
        android:layout_height="wrap_content"
        android:text="button_C" />

</LinearLayout>
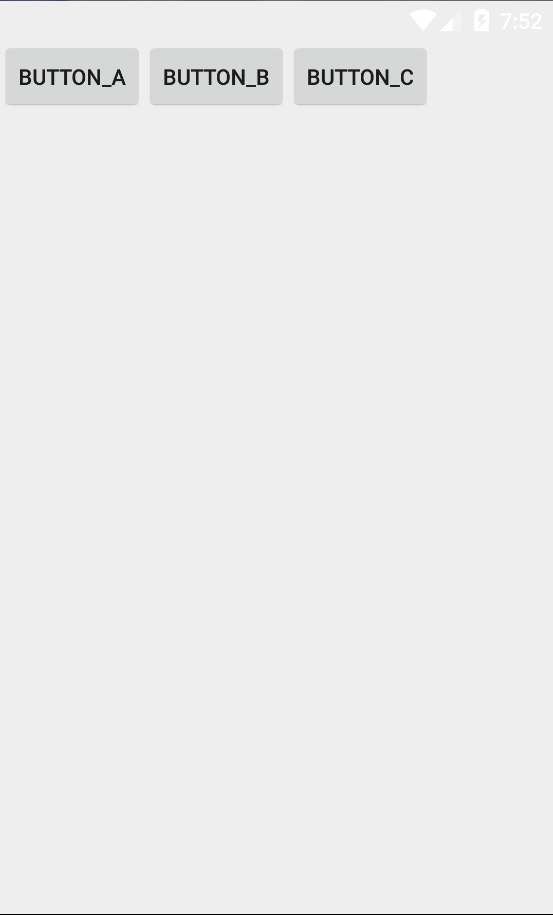
次は横一列に並べた場合です。
<?xml version="1.0" encoding="utf-8"?>
<LinearLayout xmlns:android="http://schemas.android.com/apk/res/android" android:layout_width="match_parent"
    android:layout_height="match_parent"
    android:orientation="horizontal">

    <Button
        android:layout_width="wrap_content"
        android:layout_height="wrap_content"
        android:text="button_A" />
    <Button
        android:layout_width="wrap_content"
        android:layout_height="wrap_content"
        android:text="button_B" />
    <Button
        android:layout_width="wrap_content"
        android:layout_height="wrap_content"
        android:text="button_C" />

</LinearLayout>
layout_weight属性
LinearLayoutは子ビューにlayout_weight属性を持たせることが出来ます。
layout_weightは子ビューがレイアウト内で占める領域を”重み付け”します。
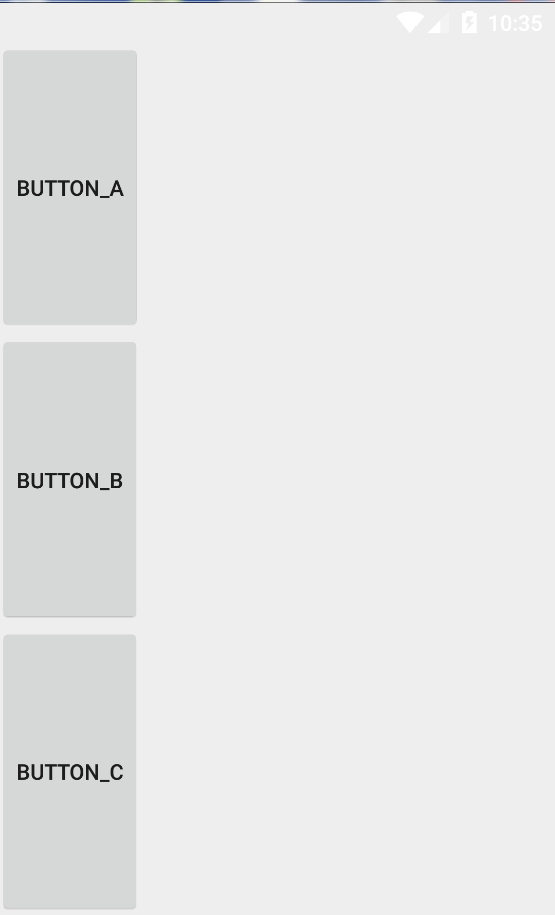
次の例は三つのButtonビューを縦に等間隔で並べた場合です。
<?xml version="1.0" encoding="utf-8"?>
<LinearLayout xmlns:android="http://schemas.android.com/apk/res/android" android:layout_width="match_parent"
    android:layout_height="match_parent"
    android:orientation="vertical">

    <Button
        android:layout_width="wrap_content"
        android:layout_height="0dp"
        android:text="button_A"
        android:layout_weight="1"/>
    <Button
        android:layout_width="wrap_content"
        android:layout_height="0dp"
        android:text="button_B"
        android:layout_weight="1"/>
    <Button
        android:layout_width="wrap_content"
        android:layout_height="0dp"
        android:text="button_C"
        android:layout_weight="1"/>

</LinearLayout>
このようにlayout_weightを用いて子ビューを等間隔に表示したい場合のポイントは、子ビューの並べる方向の大きさ(layout_widthまたはlayout_height)を0dpで指定することです。このように指定しないと想定通りの動作をしません。
以上、基本となるレイアウトのひとつであるLinearLayoutについて説明しました。


