Androidのアプリケーションを動かすと起動時に
特にボタンとかは必要なくタイトルだけを表示したい場合があるかと思います。
このような画面をSplash画面(画像)と言いますが、
今回はSplash画面の実装サンプルをご紹介したいと思います。
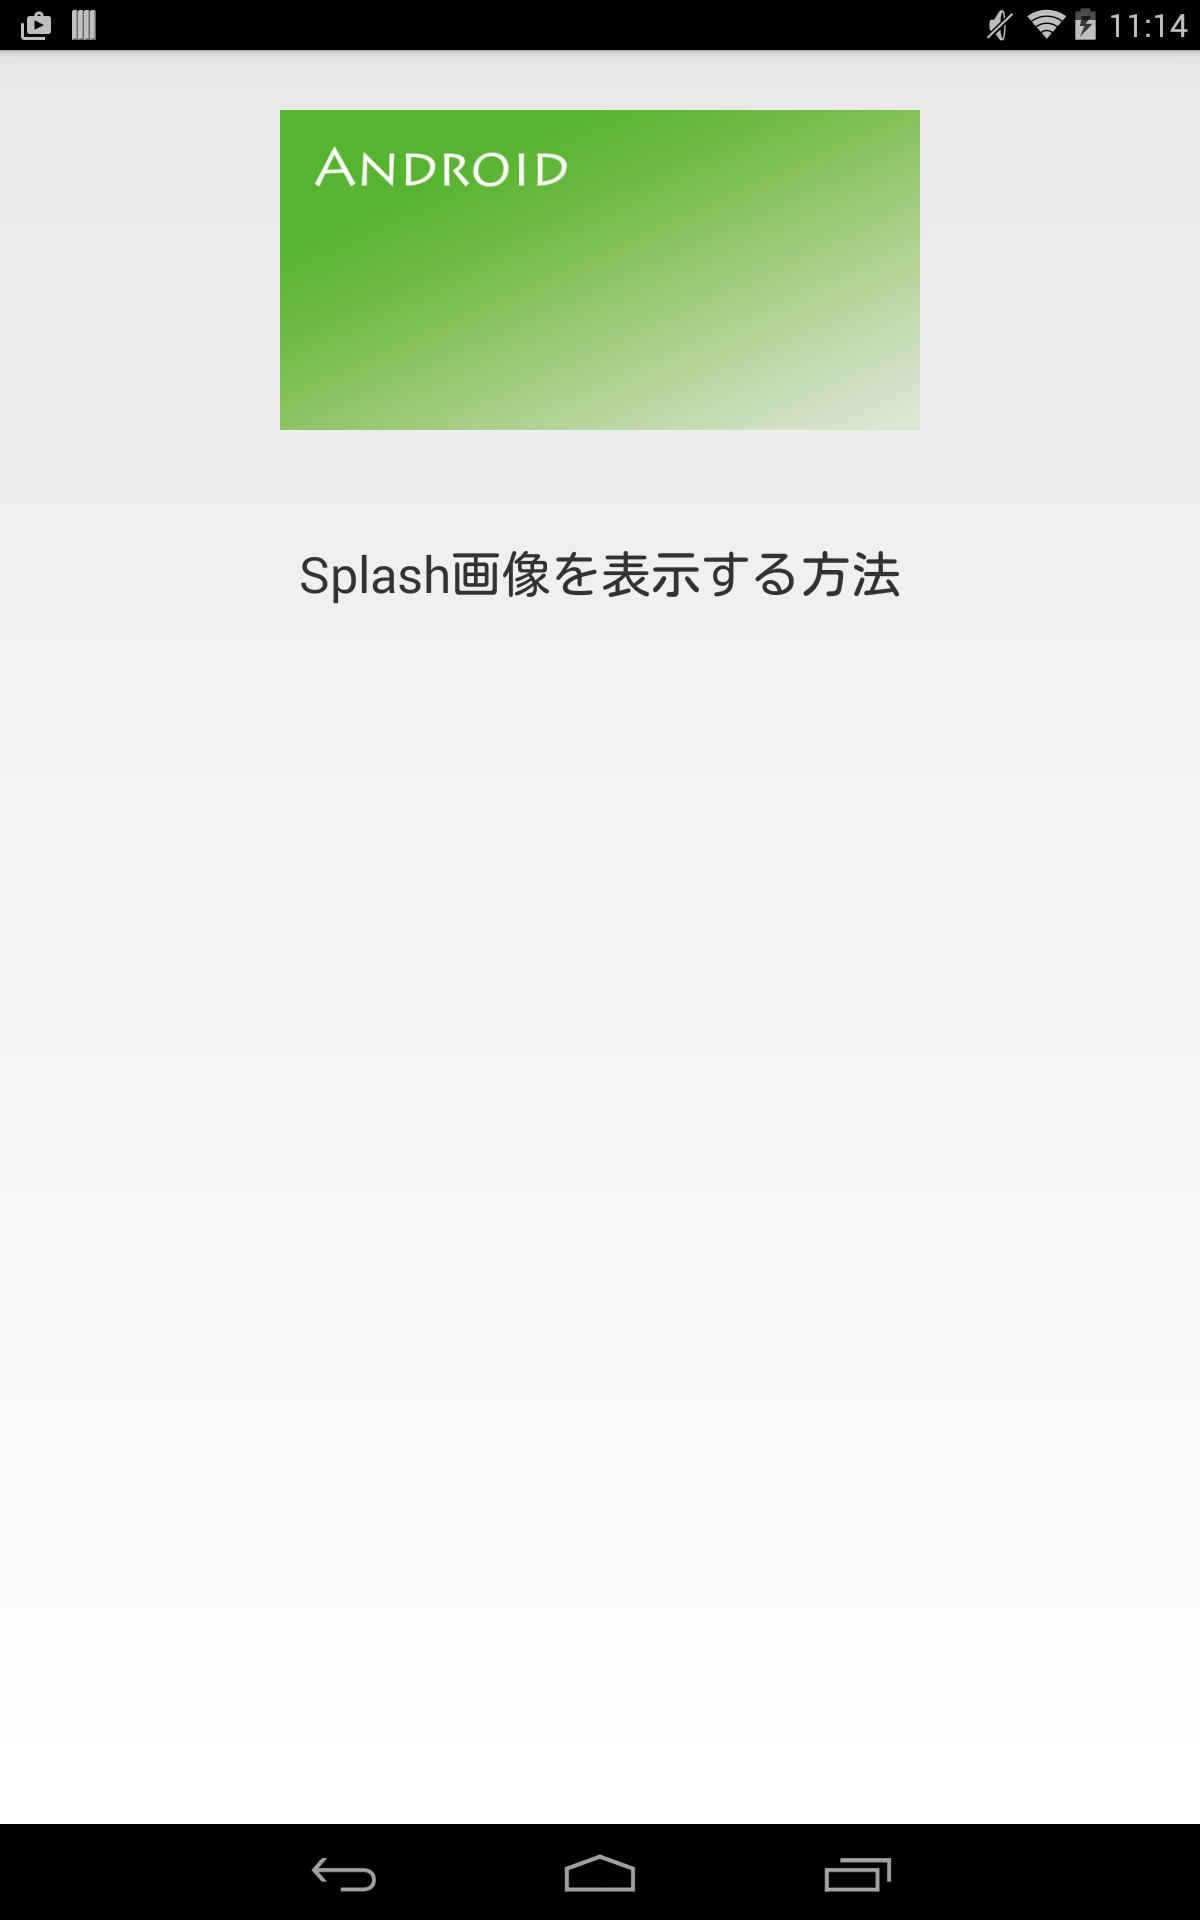
最終的なイメージ
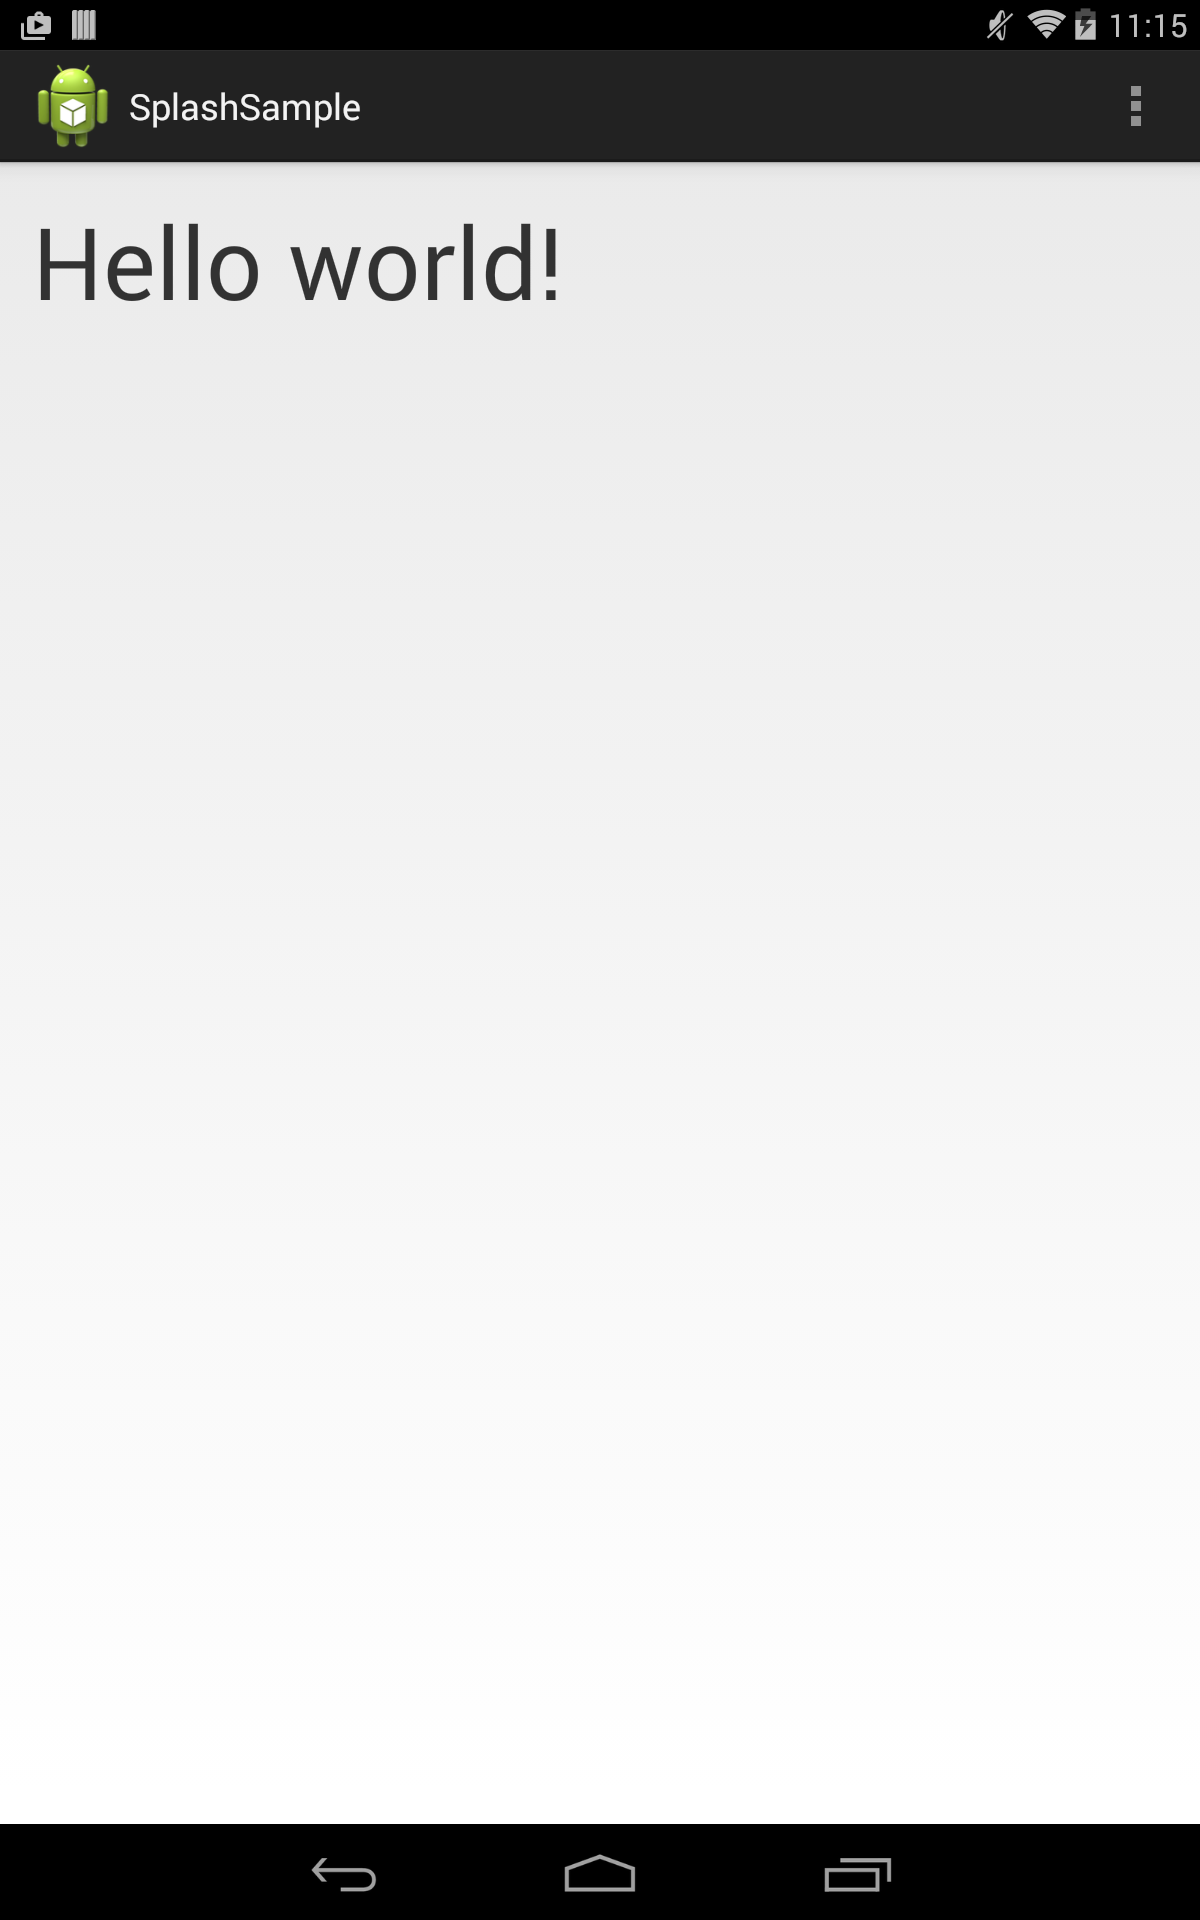
動きとしては、アプリケーションを起動した際に
起動画面(Splash画面)が表示され、ジワジワとタイトルを表示。
その後、メイン画面に移動すると言ったような動作をします。
標準では、Androidの画面の上部にタイトルが表示されますが
邪魔なので消しています。
サンプルコード
【Splash画面のXML】splash.xml
- 10行目の
android:layout_centerHorizontal="true"は、横軸中央に表示する。
と言った意味です。 - 12行目の
android:src="@drawable/android_top"は、res配下にdrawableと言った
ディレクトリを作成し、その中にandroid_top.pngを保存しています。
XML側で呼び出す際は拡張子が不要になります。
<?xml version="1.0" encoding="utf-8"?>
<RelativeLayout xmlns:android="http://schemas.android.com/apk/res/android"
    android:layout_width="match_parent"
    android:layout_height="match_parent" >

    <ImageView
        android:id="@+id/imageView1"
        android:layout_width="fill_parent"
        android:layout_height="160dp"
        android:layout_centerHorizontal="true"
        android:layout_marginTop="30dp"
        android:src="@drawable/android_top" />

    <TextView
        android:id="@+id/textView1"
        android:layout_width="wrap_content"
        android:layout_height="wrap_content"
        android:layout_below="@+id/imageView1"
        android:layout_centerHorizontal="true"
        android:layout_marginTop="55dp"
        android:text="Splash画像を表示する方法"
        android:textSize="25dp" />

</RelativeLayout>
【メイン画面のXML】activity_main.xml
- 14行目に
android:textSize="50dp"を追加し、文字サイズのみ変更しています。
<RelativeLayout xmlns:android="http://schemas.android.com/apk/res/android"
    xmlns:tools="http://schemas.android.com/tools"
    android:layout_width="match_parent"
    android:layout_height="match_parent"
    android:paddingBottom="@dimen/activity_vertical_margin"
    android:paddingLeft="@dimen/activity_horizontal_margin"
    android:paddingRight="@dimen/activity_horizontal_margin"
    android:paddingTop="@dimen/activity_vertical_margin"
    tools:context="com.example.splashsample.MainActivity" >

    <TextView
        android:layout_width="wrap_content"
        android:layout_height="wrap_content"
        android:textSize="50dp"
        android:text="@string/hello_world" />

</RelativeLayout>
【Splash画面のActivity】SplashActivity.java
- 特に変更なし。
package com.example.splashsample;

import android.content.Intent;
import android.os.Bundle;
import android.os.Handler;
import android.support.v7.app.ActionBarActivity;
import android.view.Window;
import android.view.animation.AlphaAnimation;
import android.widget.ImageView;
import android.widget.TextView;

public class SplashActivity extends ActionBarActivity {

	@Override
	protected void onCreate(Bundle savedInstanceState) {
		super.onCreate(savedInstanceState);
		// タイトルを非表示にします。
		requestWindowFeature(Window.FEATURE_NO_TITLE);
		// splash.xmlをViewに指定します。
		setContentView(R.layout.splash);

		TextView textView1 = (TextView) findViewById(R.id.textView1);
		ImageView imageView1 = (ImageView) findViewById(R.id.imageView1);

		AlphaAnimation alpha = new AlphaAnimation(
				0.0f, // 開始時の透明度(0は完全に透過)
				1.0f); // 終了時の透明度(1は全く透過しない)

		// 3000msかけて透過度を0から1に変更する
		alpha.setDuration(3000);
		textView1.startAnimation(alpha);
		imageView1.startAnimation(alpha);

		Handler hdl = new Handler();
		// 4000ms遅延させてsplashHandlerを実行します。
		hdl.postDelayed(new splashHandler(), 4000);
	}

	class splashHandler implements Runnable {
		public void run() {
			// スプラッシュ完了後に実行するActivityを指定します。
			Intent intent = new Intent(getApplication(), MainActivity.class);
			startActivity(intent);
			// SplashActivityを終了させます。
			SplashActivity.this.finish();
		}
	}
}
【Main画面のActivity】MainActivity.java
- プログラム中にコメントを書きましたので、そちらをご参照ください。
package com.example.splashsample;

import android.support.v7.app.ActionBarActivity;
import android.os.Bundle;

public class MainActivity extends ActionBarActivity {

	@Override
	protected void onCreate(Bundle savedInstanceState) {
		super.onCreate(savedInstanceState);
		setContentView(R.layout.activity_main);
	}
}
【設定ファイル】AndroidManifest.xml
- 17行目で
android:name=".SplashActivity"をandroid:name=".MainActivity"から
変更しています。
これは、アプリケーションが起動時にどのActivityを起動するかを設定しています。 - 25-26行目に
android:name=".MainActivity">を追加しています。
通常であれば、MainActivityは17行目に記載されているはずなので、記載不要なのですが、
今回はSplashActivityが起動時に設定されています。
したがって、MainActivityは追加されている扱いになるので、追記が必要となります。
</ul
<?xml version="1.0" encoding="utf-8"?>
<manifest xmlns:android="http://schemas.android.com/apk/res/android"
    package="com.example.splashsample"
    android:versionCode="1"
    android:versionName="1.0" >

    <uses-sdk
        android:minSdkVersion="8"
        android:targetSdkVersion="21" />

    <application
        android:allowBackup="true"
        android:icon="@drawable/ic_launcher"
        android:label="@string/app_name"
        android:theme="@style/AppTheme" >
        <activity
            android:name=".SplashActivity"
            android:label="@string/app_name" >
            <intent-filter>
                <action android:name="android.intent.action.MAIN" />

                <category android:name="android.intent.category.LAUNCHER" />
            </intent-filter>
        </activity>
        <activity
            android:name=".MainActivity"></activity>
    </application>

</manifest>
上記プログラムは全てコピペで動作すると思います。
実際に動かしてみて、設定を色々と変更してみてください。


