プリファレンスでデータを保存します!
※はじめに
この記事はAndroidアプリの開発が、初心者であるという方のための記事です。
そのため、なるべく複雑な説明は避け、コピー&ペイストですぐに動くものをご紹介します。
JavaやAndroidを理解されている方で細かい説明が必要な方は、当ブログ内の連載記事である「Android Tips」をご覧ください。
今回はプリファレンスを使ったサンプルアプリです。
このプリファレンスは、主に設定情報などを保存する際に使用されます。
プリファレンスの中身は『キー』と『値』の組み合わせです。
例えばキーの名前をwi-fiとし、値にはONかOFFのどちらかを保存し、その保存されている値によって処理を分けるというように使用します。
アプリ情報
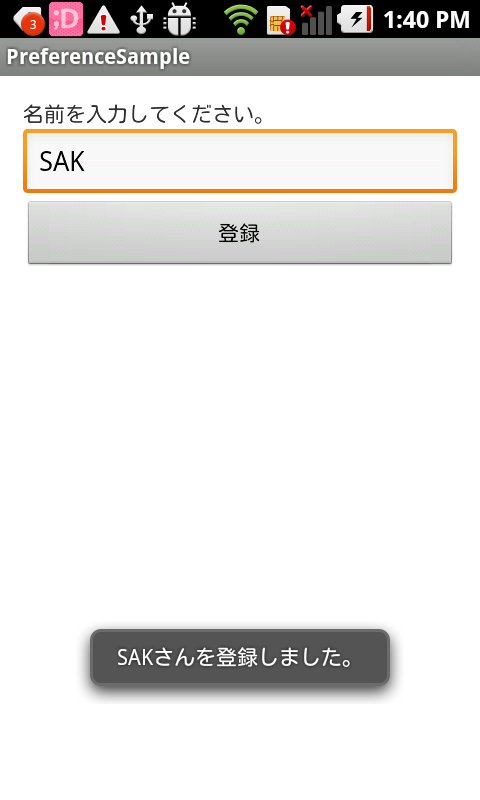
このアプリはEditTextに入力した内容を「登録」Buttonを押下することにより登録します。
アプリ完成図
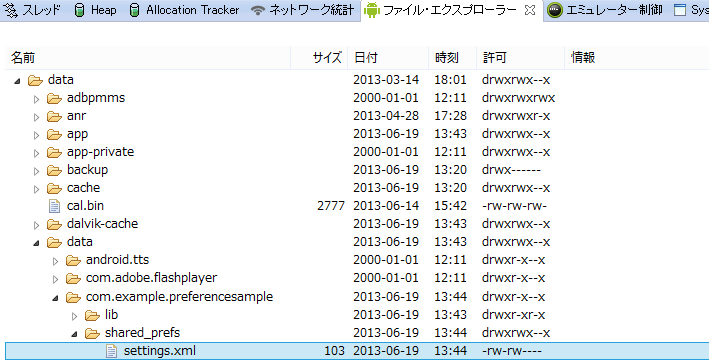
データは「data/data/パッケージ名/shared_prefs/」内に保存されています。

MainActivity.java(ソースコード)
activity_main.xmlと紐づきたActivityです。
各ボタンを押下したときの処理を記述しています。
package com.example.preferencesample;

import android.app.Activity;
import android.content.SharedPreferences;
import android.os.Bundle;
import android.view.View;
import android.view.View.OnClickListener;
import android.widget.Button;
import android.widget.EditText;
import android.widget.Toast;

public class MainActivity extends Activity {

    @Override
    protected void onCreate(Bundle savedInstanceState) {
        super.onCreate(savedInstanceState);
        setContentView(R.layout.activity_main);

        Button button = (Button) findViewById(R.id.button1);
        button.setOnClickListener(new OnClickListener() {

            @Override
            public void onClick(View v) {
                EditText editText = (EditText) findViewById(R.id.editText1);
                String str = editText.getText().toString();

                SharedPreferences pref = getSharedPreferences("settings",
                        MODE_PRIVATE);
                SharedPreferences.Editor editor = pref.edit();
                editor.putString("name", str);
                editor.commit();

                Toast.makeText(MainActivity.this, str + "さんを登録しました。",
                        Toast.LENGTH_SHORT).show();

            }
        });
    }

}
activity_main.xml
アプリ起動時に表示されるメイン画面です。
<LinearLayout xmlns:android="http://schemas.android.com/apk/res/android"
    xmlns:tools="http://schemas.android.com/tools"
    android:layout_width="match_parent"
    android:layout_height="match_parent"
    android:orientation="vertical"
    android:padding="15dp" >

    <TextView
        android:layout_width="wrap_content"
        android:layout_height="wrap_content"
        android:text="名前を入力してください。" />

    <EditText
        android:id="@+id/editText1"
        android:layout_width="match_parent"
        android:layout_height="wrap_content" >
    </EditText>

    <Button
        android:id="@+id/button1"
        android:layout_width="match_parent"
        android:layout_height="wrap_content"
        android:text="登録" />

</LinearLayout>
これでOKです。


