ストリーミング動画を配信してみよう② ~nginxとC++ RTMP Server(crtmpserver)の構築~
④動画を見るためのページ「flowplayer.html」を作成します。
/rtmp の直下に「flowplayer.html」というファイル名で作成します。
あと、動画再生用のサンプル動画「sample.mp4」を用意する。
※リンク用のイメージファイルもあるとなおよい。
・flowplayer.htmlの内容
<!doctype html>
<html>
  <head>
    <title>MP4 RTMP-streaming : Flowplayer</title>
  </head>
  <body>
  <script src="/rtmp/flowplayer/flowplayer-3.2.12.min.js"></script>
    <a style="display:block;width:350px;height:240px;" id="player" style="cursor: pointer;">
      <img border=0 src="title.gif" style="width:320px;height:240px;" alt="title image" />
    </a>
    <br clear="all" />
  <script>
  flowplayer("player", "http://192.168.100.59/rtmp/flowplayer/flowplayer-3.2.16.swf", {
    plugins: {
        rtmp: {
            url: "http://192.168.100.59/rtmp/flowplayer.rtmp/flowplayer.rtmp-3.2.13.swf",
            netConnectionUrl: 'rtmp://192.168.100.59/rtmp'
        }
    },
    clip: {
        provider: 'rtmp',
        scaling: 'fit',
        url: 'mp4:sample.mp4'
    }
  });
  </script>
  </body>
</html>
| 行 | 説明 |
|---|---|
| 7行目 | Flowplayer Flash版のJavaScriptを読み込む。 |
| 8行目 | Flowplayer Flash版を表示する aタグ を指定。 |
| 9行目 | 画像を指定。 |
| 14-23行目 | Flowplayer Flash版の設定。 |
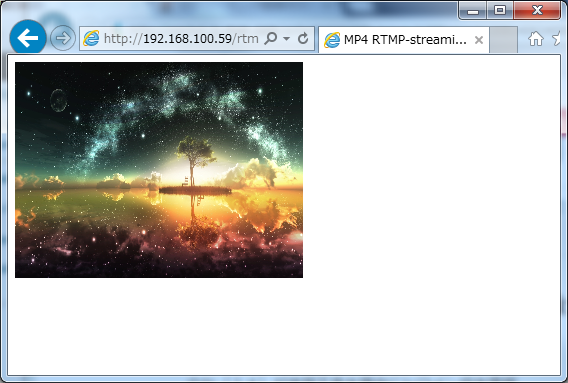
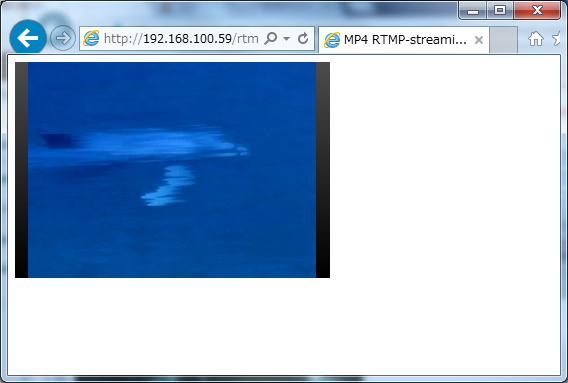
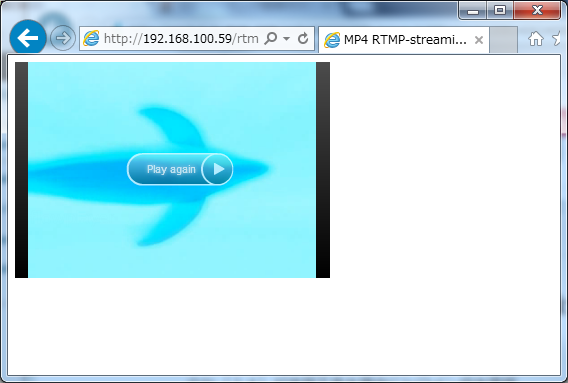
mp4動画の再生テスト
URL「http://192.168.100.59/rtmp/flowplayer.html」へアクセスして確認してみてください。
・URL表示時
・動画再生時
・動画再生終了時
これで、YouTubeに似せたサイトの完成です。


