前回(RecyclerViewの使い方)に引き続き、RecyclerViewについて紹介します。
Googleの発表した「マテリアルデザイン」は今はやりの「フラットデザイン」ととてもよく似ていますが、奥行きや段差を一切廃するのではなく、わずかに残すことでユーザーに分かりやすいインタフェースを提供することを目的の1つとしているようです。
RecyclerViewにはこの「奥行き」を簡単に実装するための仕組みが取り入れられており、shadowと呼ばれています。
今回はこのshadowの付け方について紹介したいと思います。
参考ページ
http://developer.android.com/tools/support-library/setup.html
https://developer.android.com/preview/material/ui-widgets.html
1. まずは、shadowを付けたいViewを修正します。
付け加えたのは6,7行目です。この段階ではコンパイルエラーがでていますが、OKです。
elevationが影の太さを設定する属性のようです。
<?xml version="1.0" encoding="utf-8"?>
<TextView xmlns:android="http://schemas.android.com/apk/res/android"
    android:layout_width="match_parent"
    android:layout_height="match_parent"
    android:padding="10dp"
    android:elevation="1dp"
    android:background="@drawable/myrect" >

</TextView>
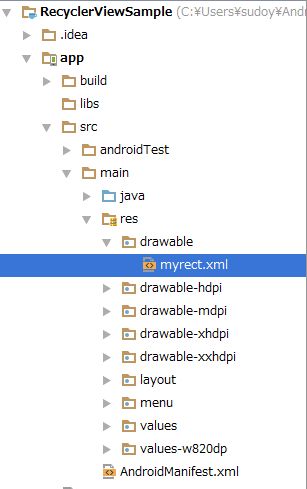
2. 次に、res/drawableフォルダを新しく作成し、その中に「myrect.xml」ファイルを作成します。
<shape xmlns:android="http://schemas.android.com/apk/res/android"
    android:shape="rectangle">
    <solid android:color="#bfff9d00" />
    <corners android:radius="5dp" />
</shape>
3. 最後にAVDを起動し、実行します。
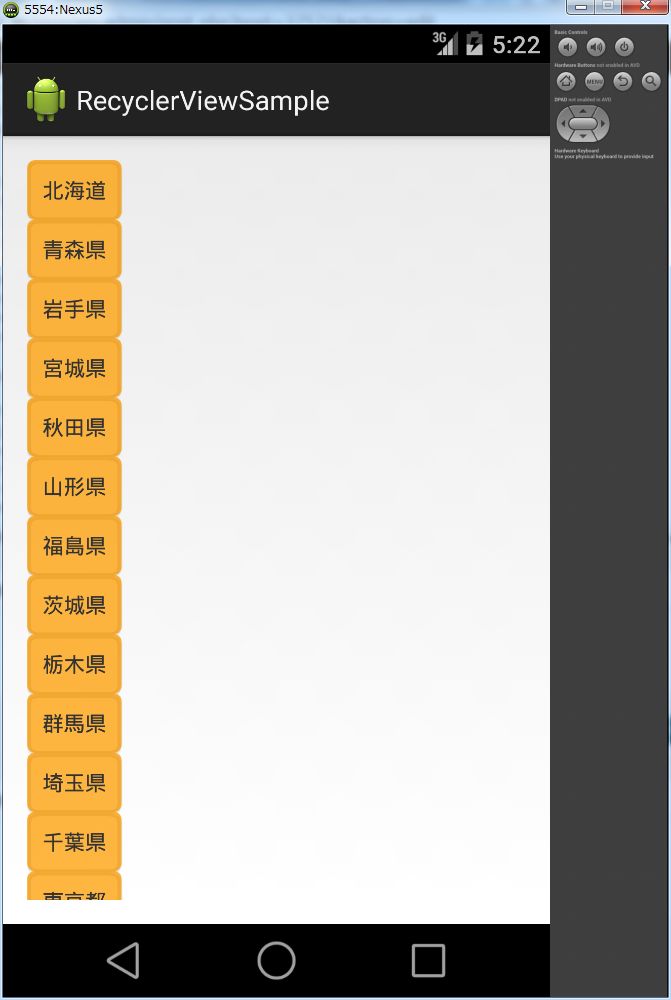
少しわかりにくいかもしれませんが、リストの各アイテムに影が付いたのがわかります。プログラムからshadowを調整したい場合は、View.setElevation()メソッドを使えば可能のようです。
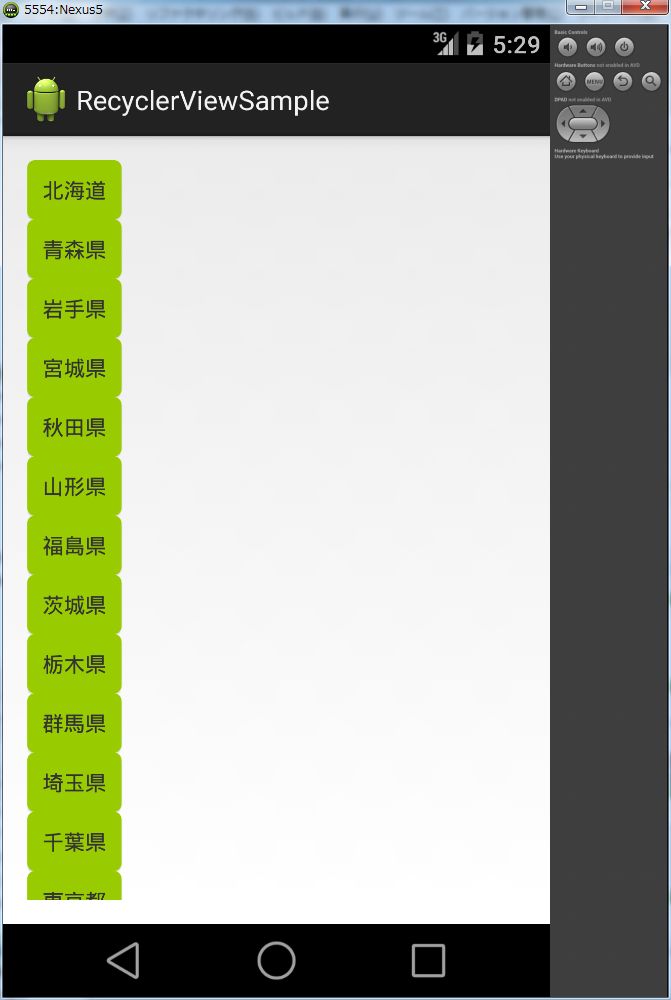
また、設定した背景色によっては、うまく影が表示されないことがあります。
「myrect.xml」のandroid:colorを「#99CC00」にしてみました。
<shape xmlns:android="http://schemas.android.com/apk/res/android"
    android:shape="rectangle">
    <solid android:color="#99CC00" />
    <corners android:radius="5dp" />
</shape>